

Overview
This section explains how to create a contract on Zenskar using the Reference ID linked to your Salesforce pricing.Create Pricing on Zenskar
- Add a Reference ID:
- When creating pricing in Zenskar, include a Reference ID of your choice for easier pricing identification later.
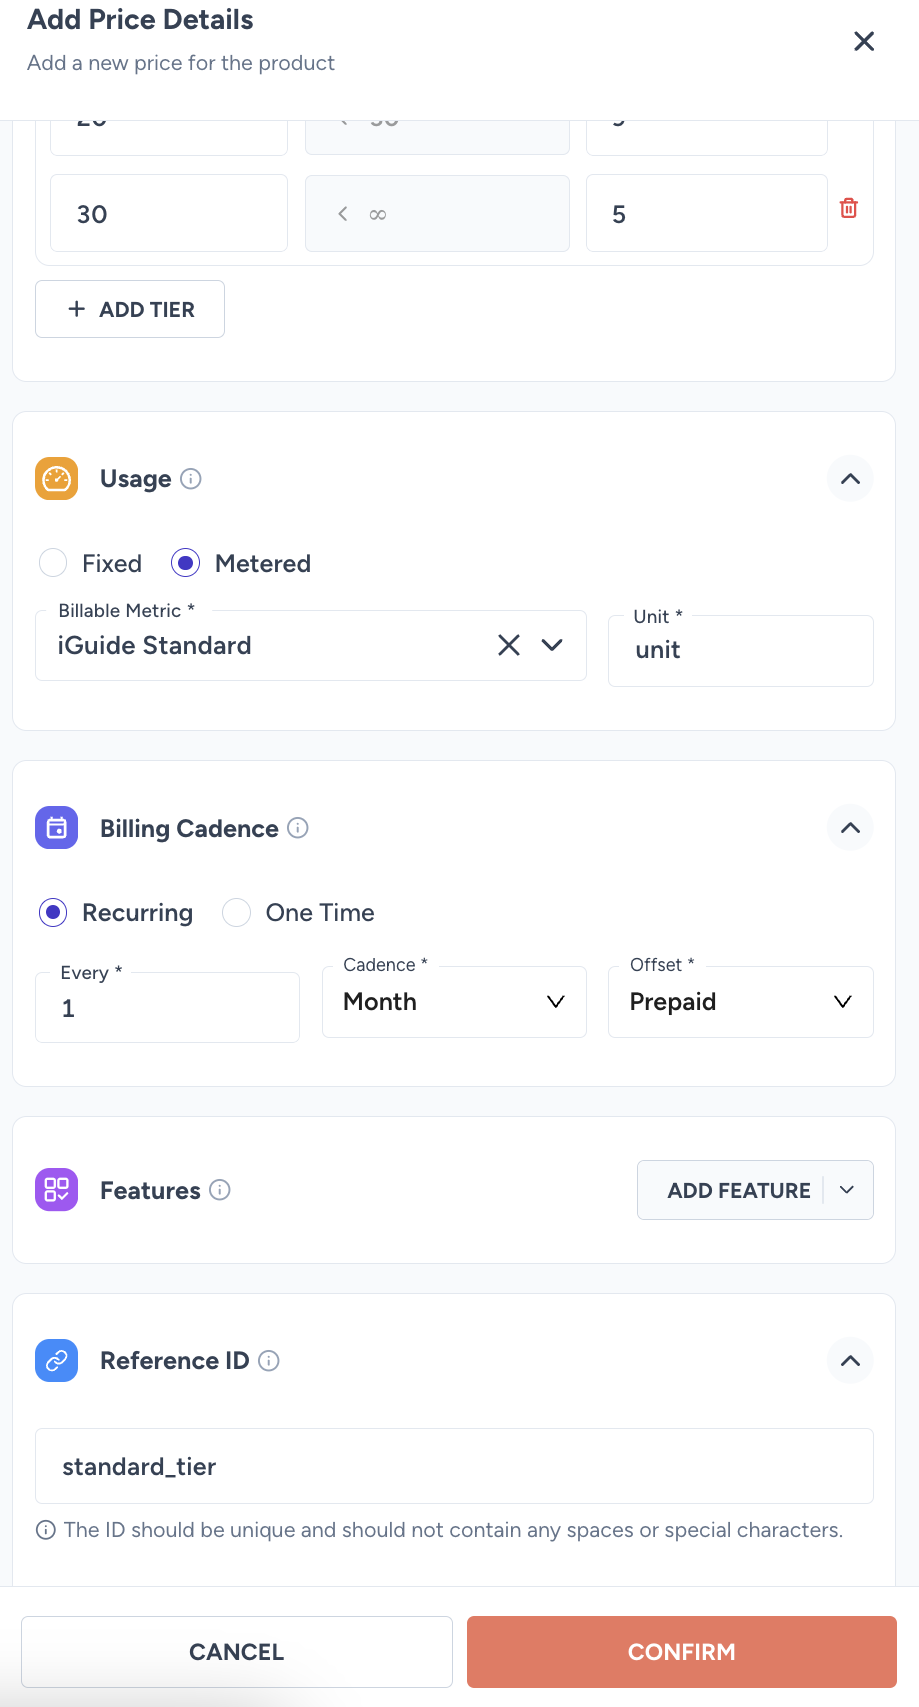
- When creating pricing in Zenskar, include a Reference ID of your choice for easier pricing identification later.
- Save Pricing:
- Once your pricing is saved, proceed to Salesforce.
Create a Price Book in Salesforce
- Create a Price Book:
- Before creating a product, you need to create a Price Book.
- Types available:
- Standard Price Book: The default price book.
- Custom Price Book: Create as needed.
- Before creating a product, you need to create a Price Book.
- Create a Custom Price Book:
- Search for Price Books:
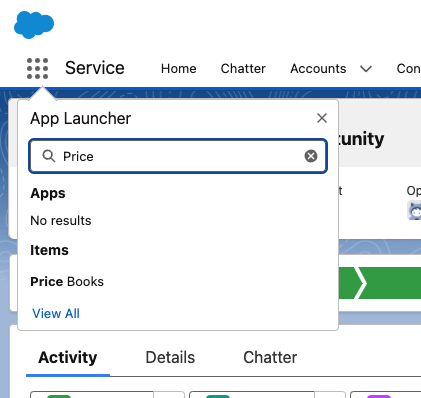
- Create a new Price Book named Zenskar Pricings.
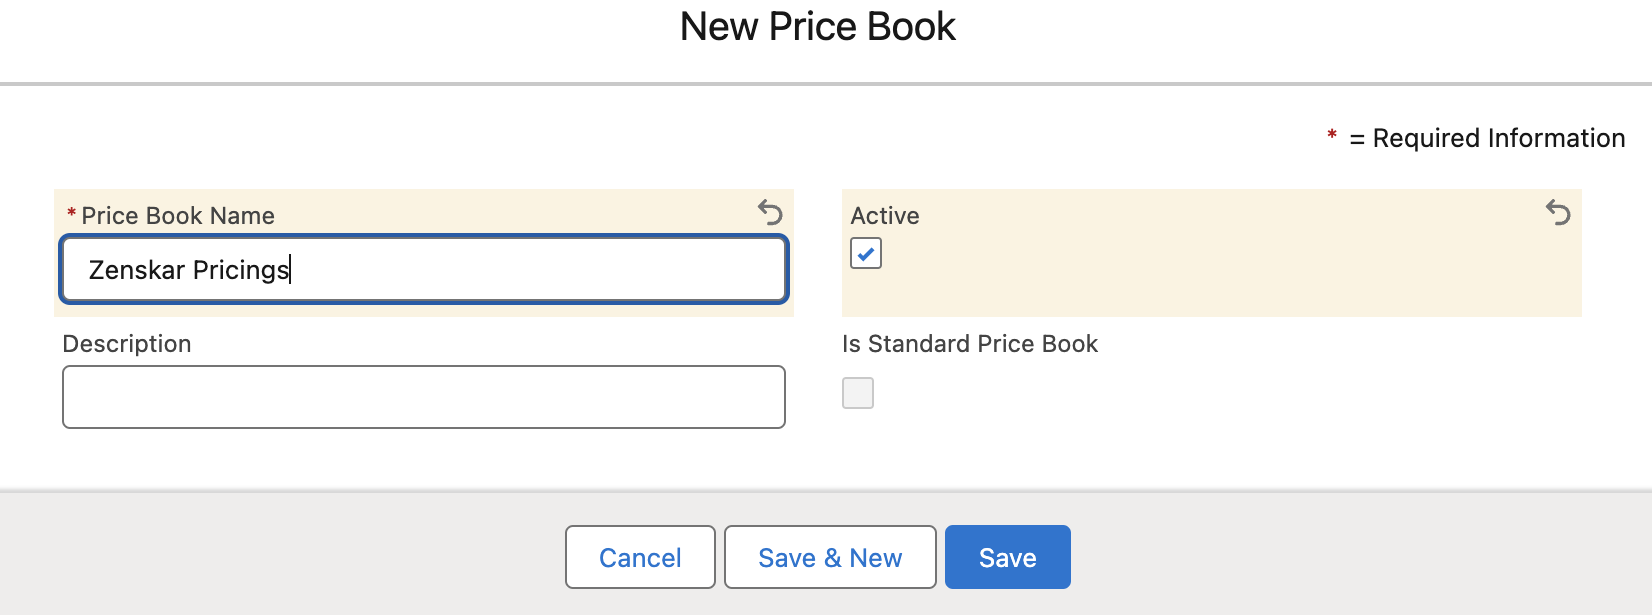
- Set it to Active. This custom price book allows you to store and manage your products efficiently.
- Search for Price Books:
Create a Product
- Product Creation:
- Navigate to the Product page on Salesforce.
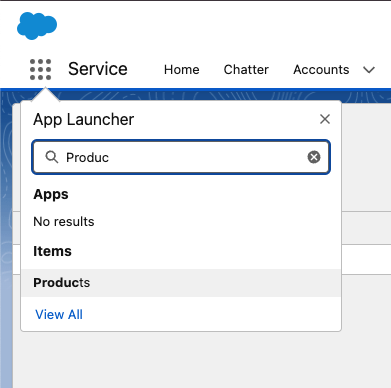
- Create a Product and set it to Active.
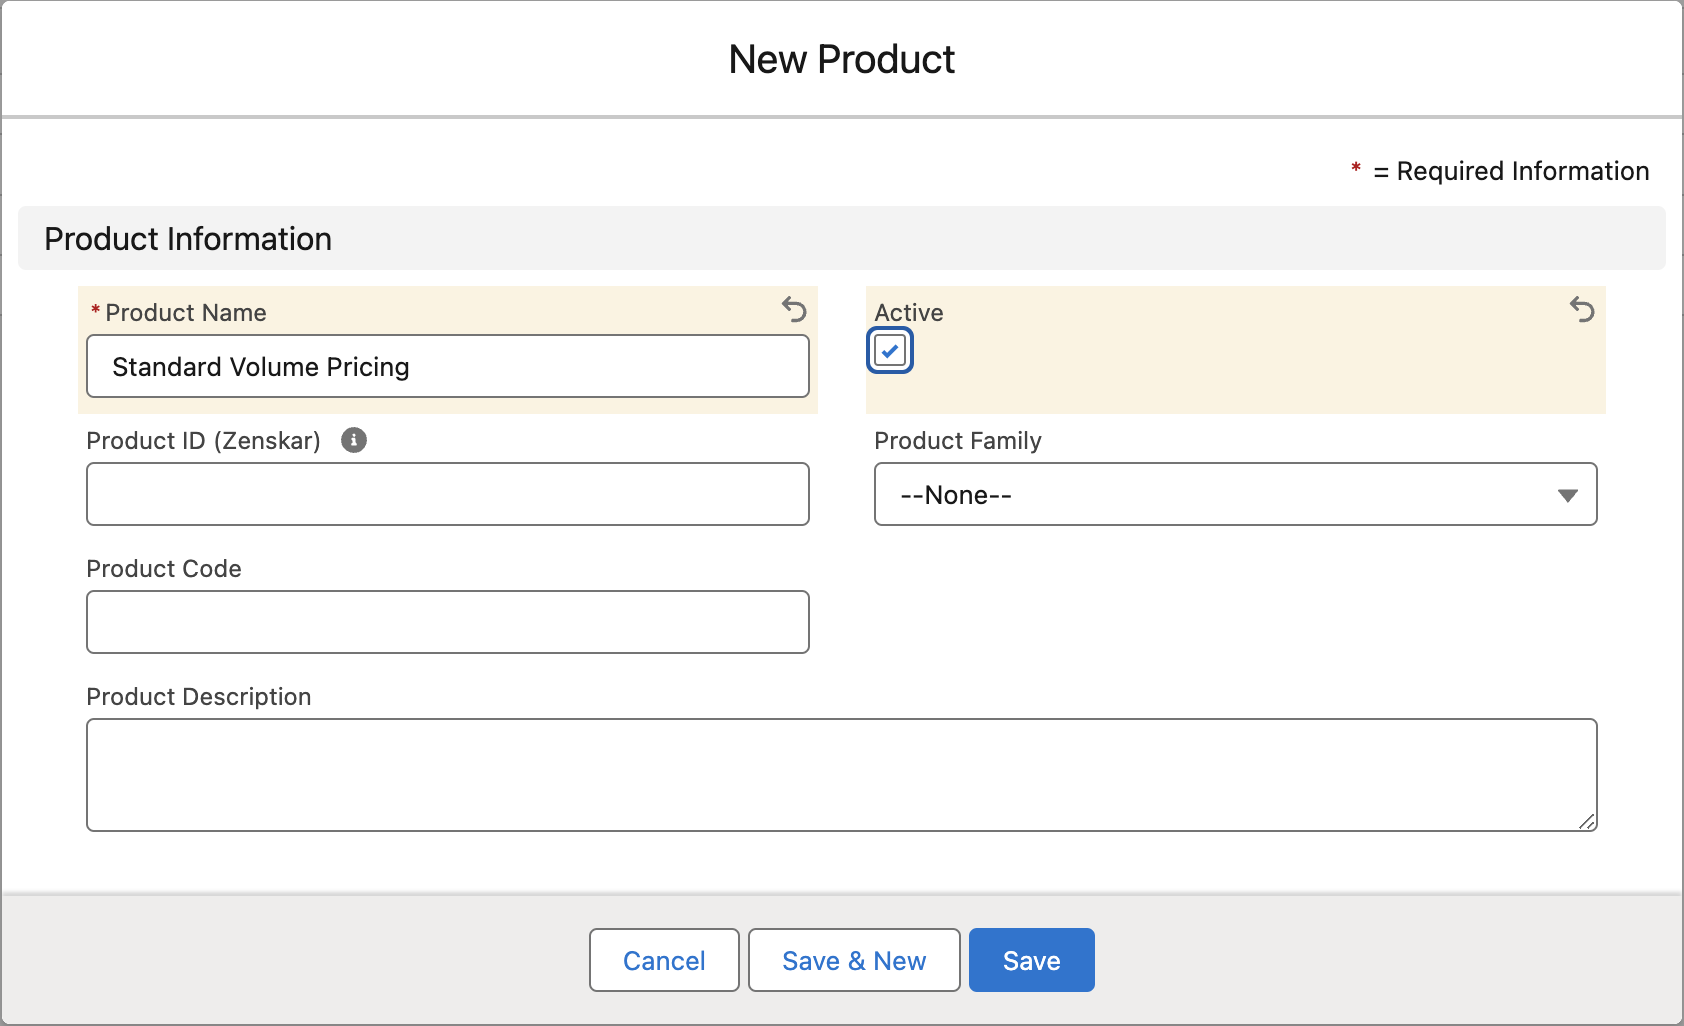
- Navigate to the Product page on Salesforce.
- Assign Product to Price Book:
- Open the newly created product and go to the Related section.

- Add the product to the Standard Price Book using Add Standard Price.
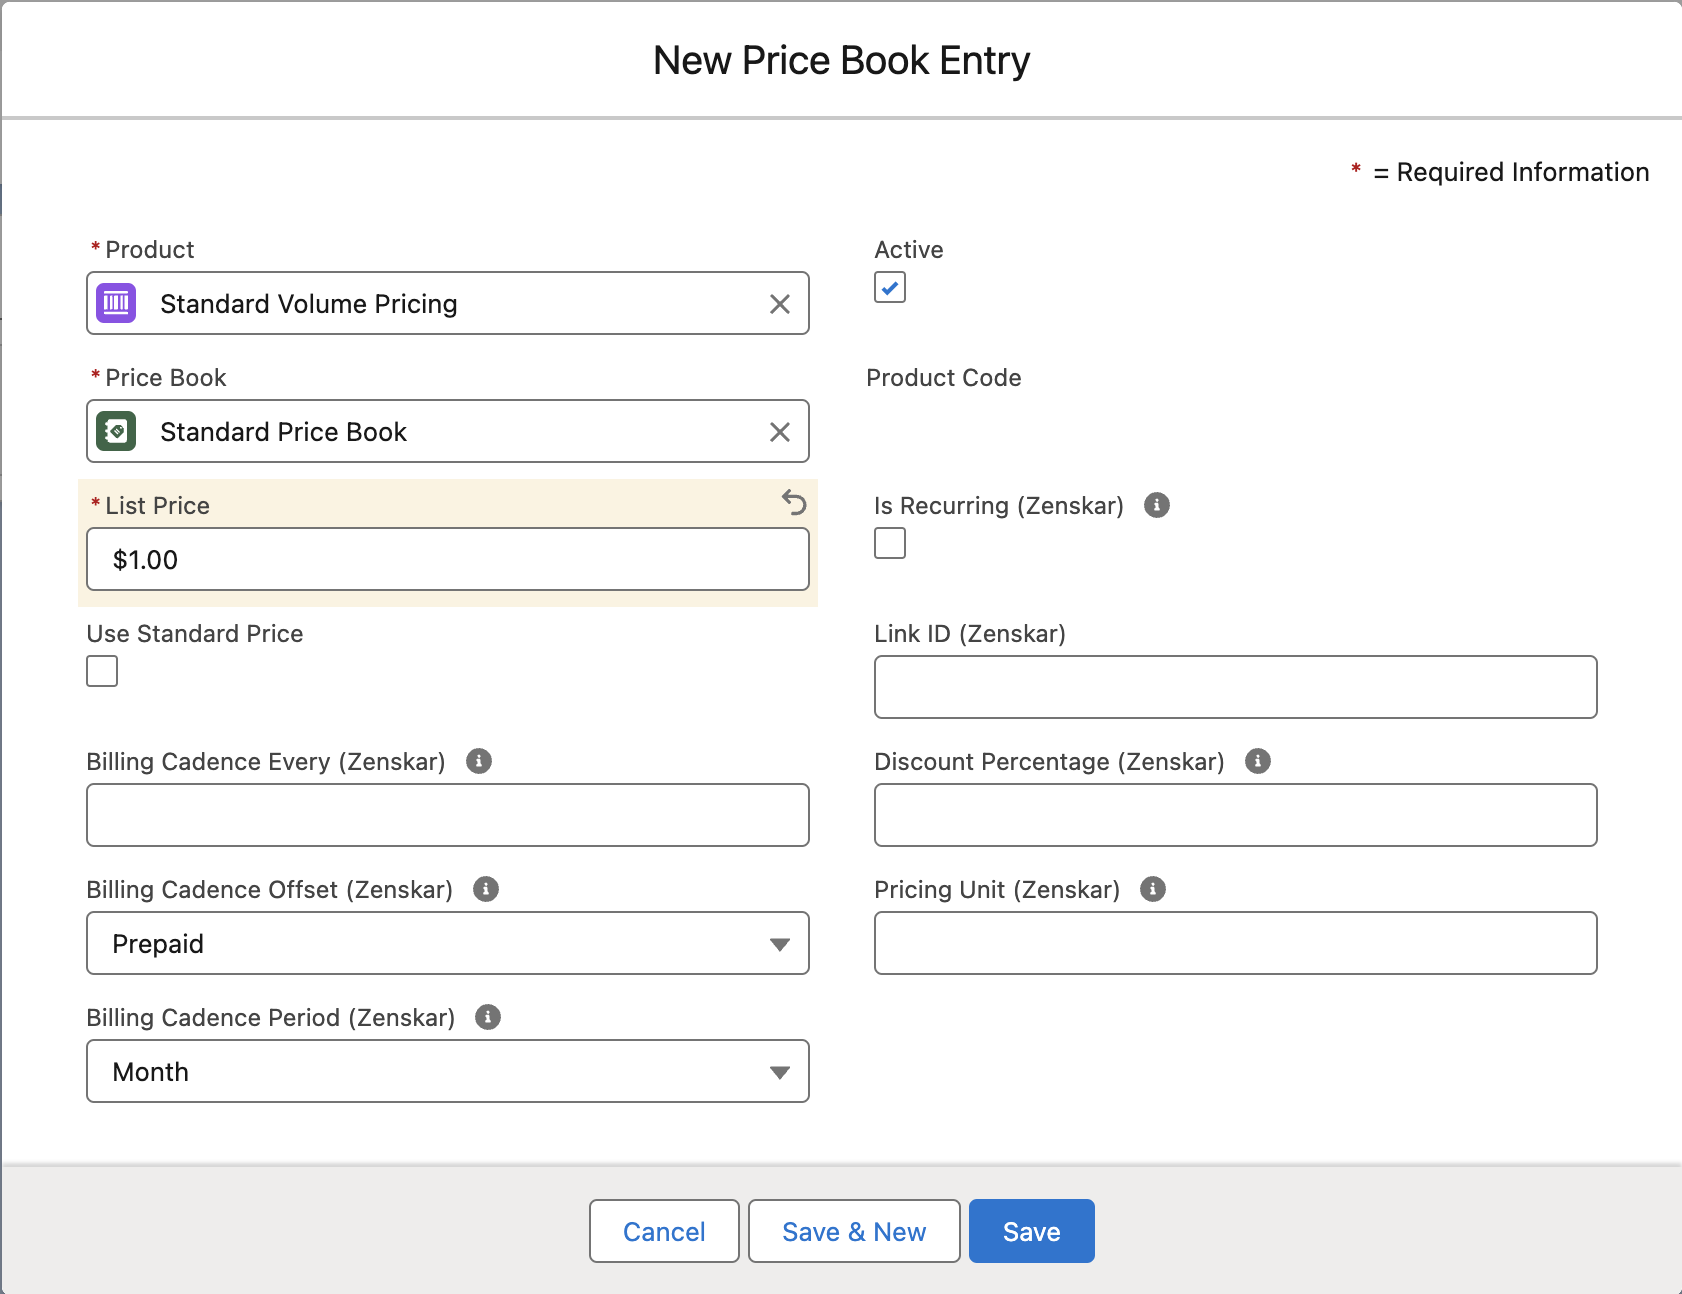
- Use placeholder details as needed.
- Open the newly created product and go to the Related section.
- Add to Price Book:
- Search for Zenskar Pricings in the Price Book field.
- Enter a placeholder list price and set the status to Active.
- Add the Reference ID from Zenskar to the
LinkID (Zenskar)field. - Save changes.
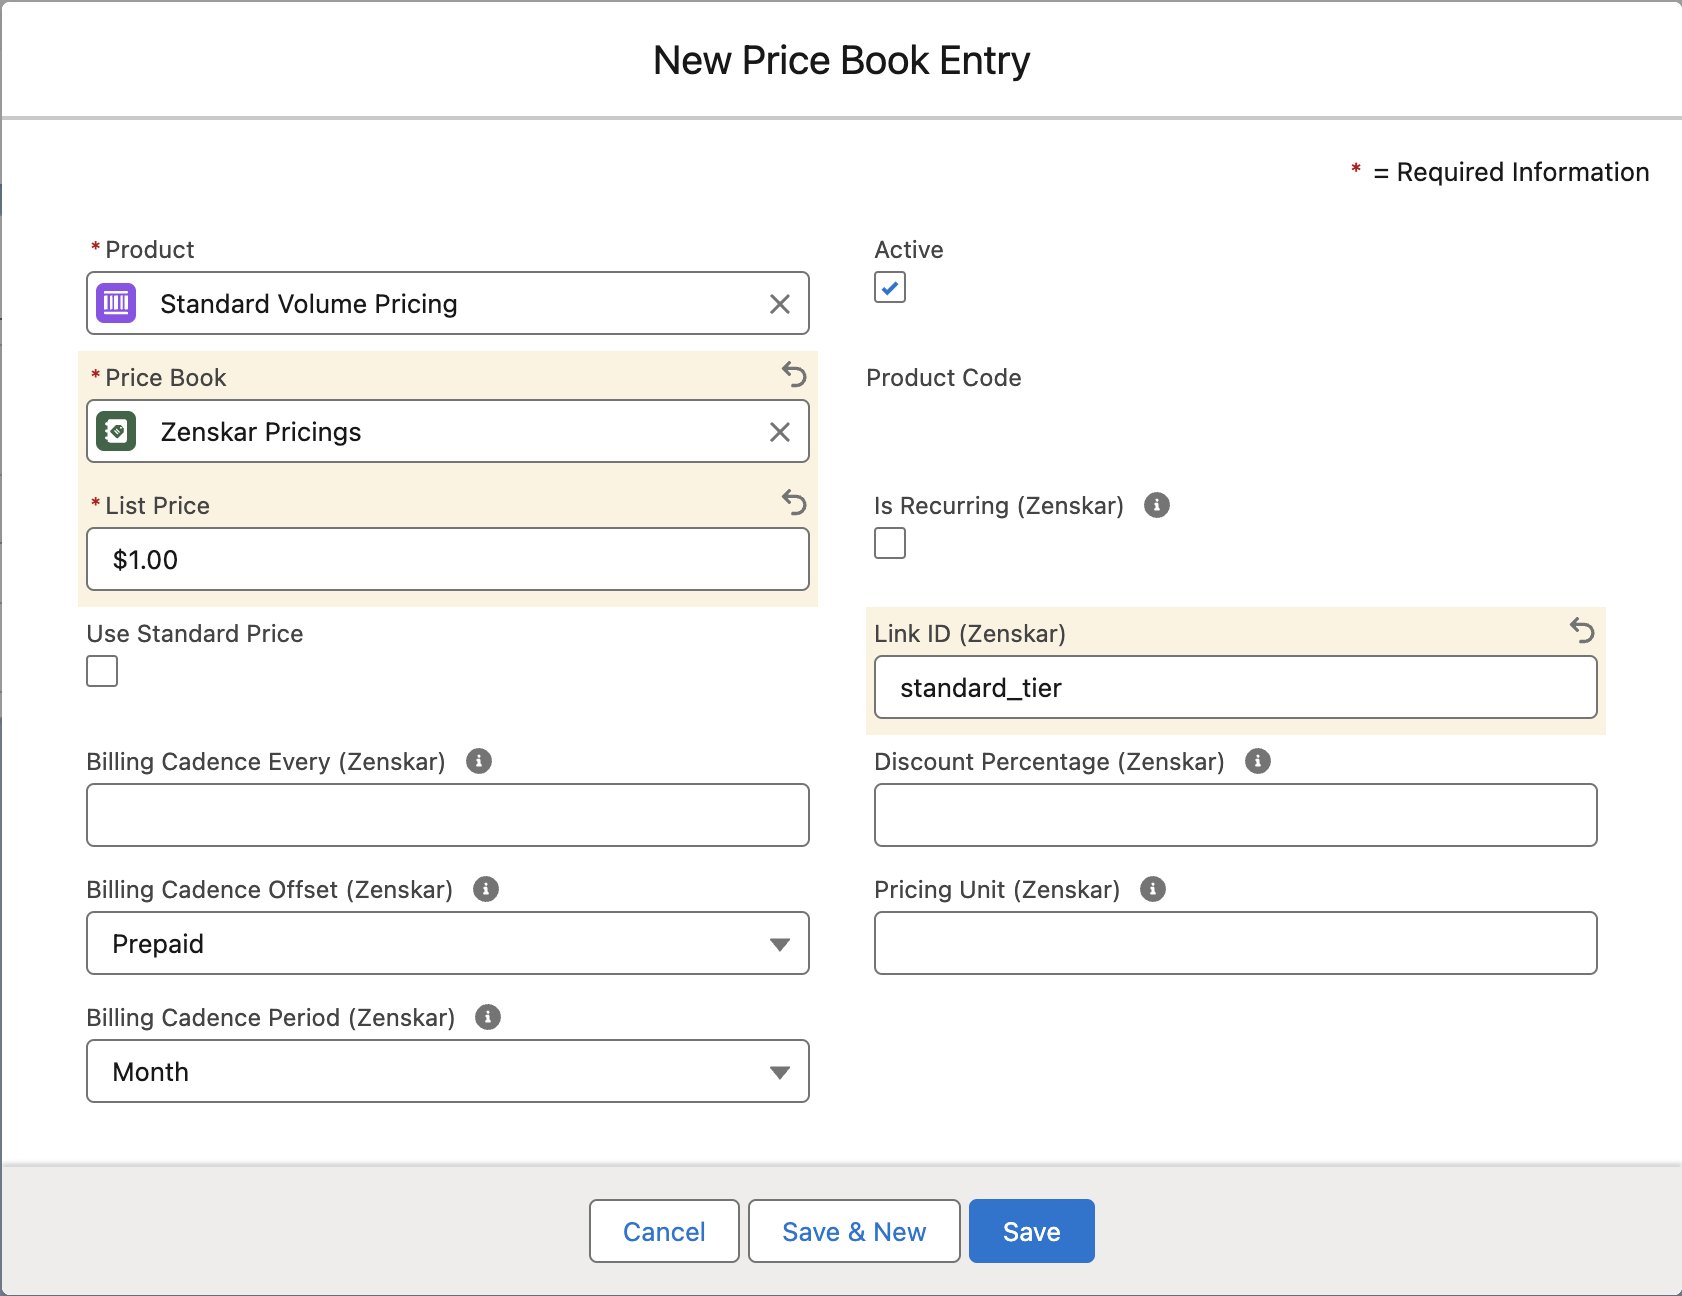
- Search for Zenskar Pricings in the Price Book field.
Create an Account
Before creating an Opportunity, you need to create an Account.Create an Opportunity
- Navigate to the Account where you want to create an Opportunity.
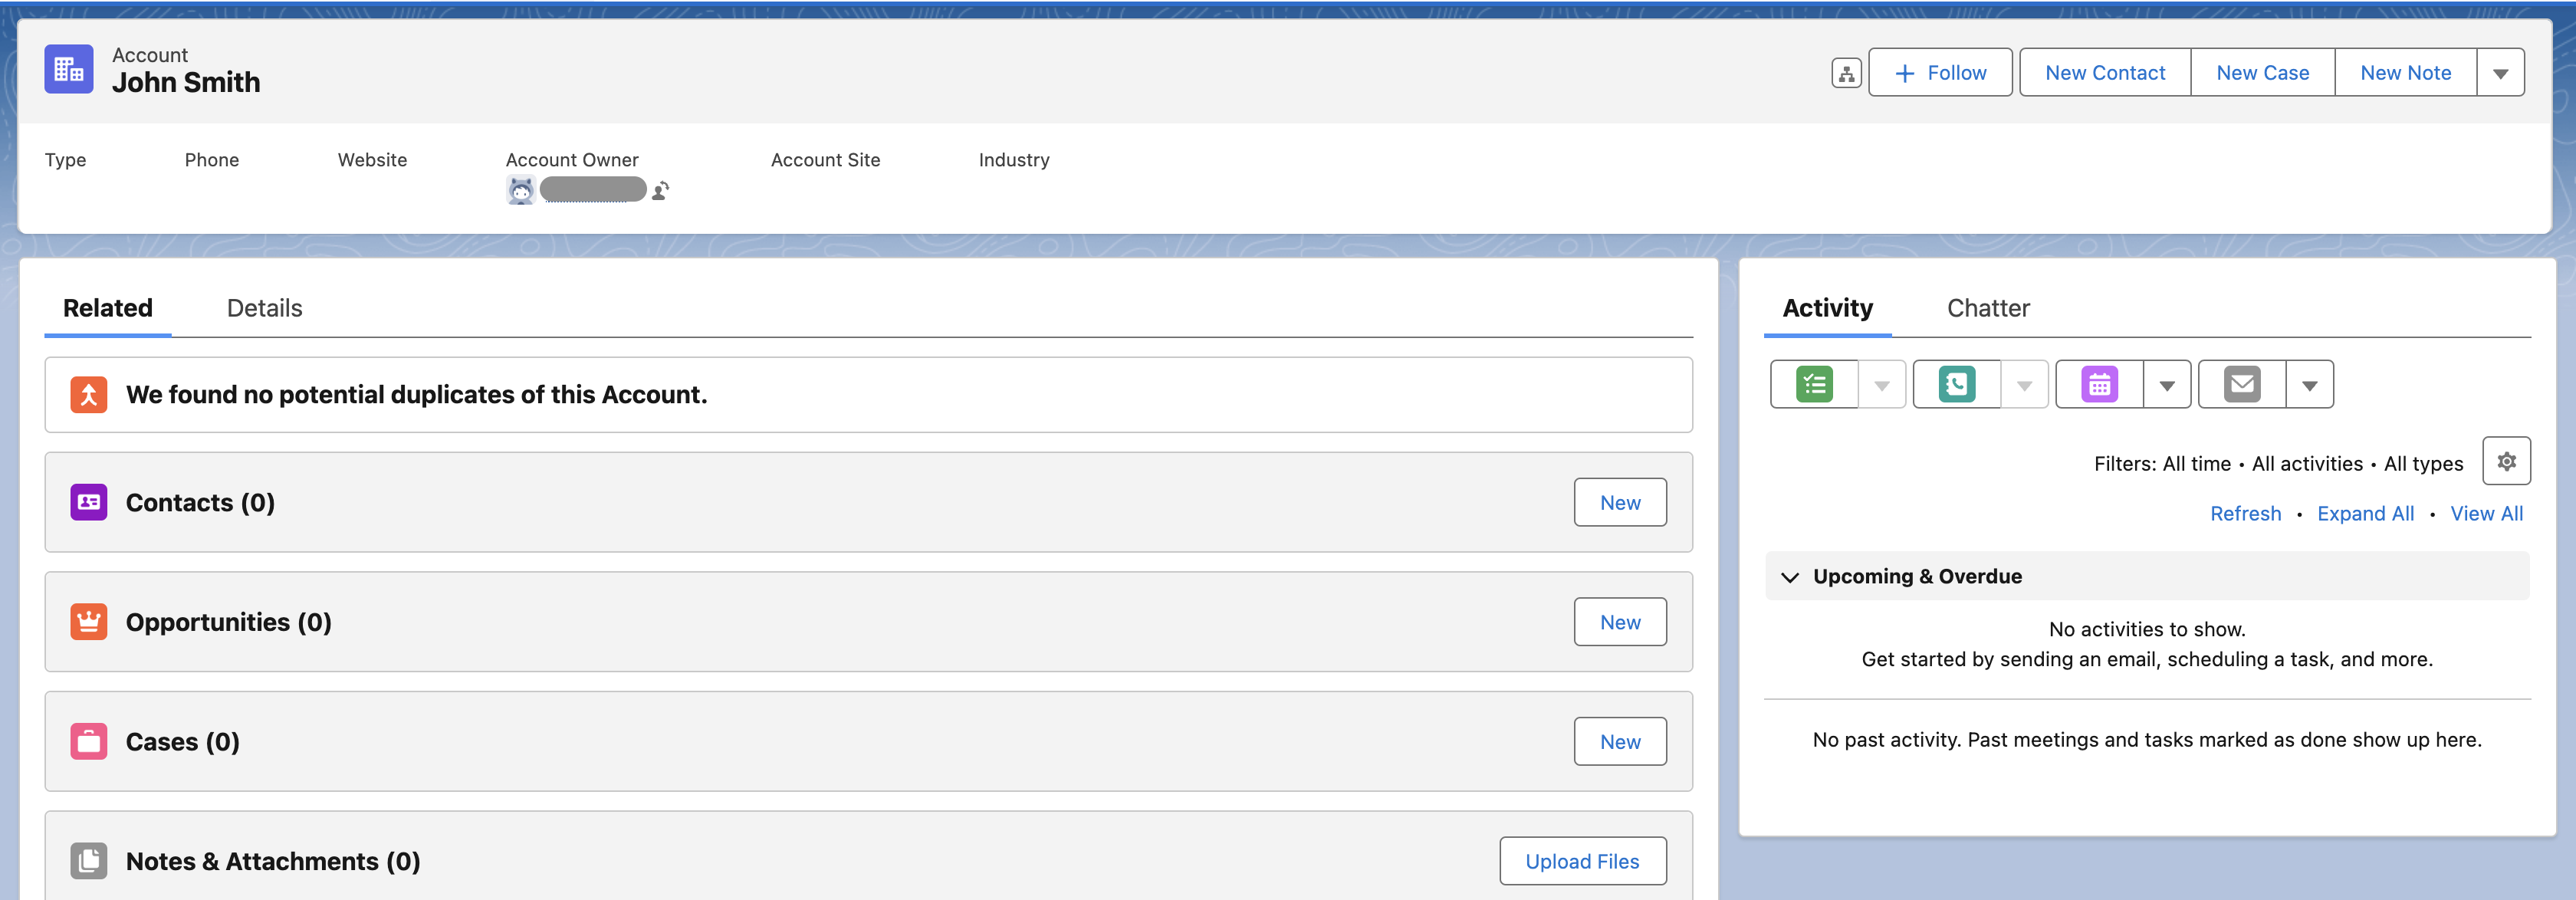
- Click Add Opportunity to create one.
Select Price Book
- After creating the Opportunity, select Choose Price Book.
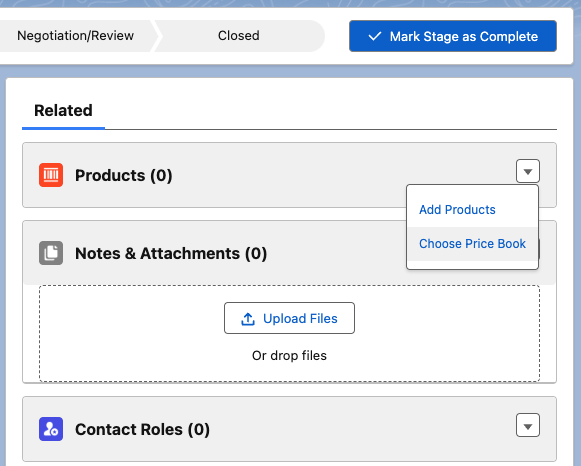
- Pick Zenskar Pricings to access the added products.
- Click Add Products.
- Enter necessary placeholder details. Once added, the Products will be listed on the right side.
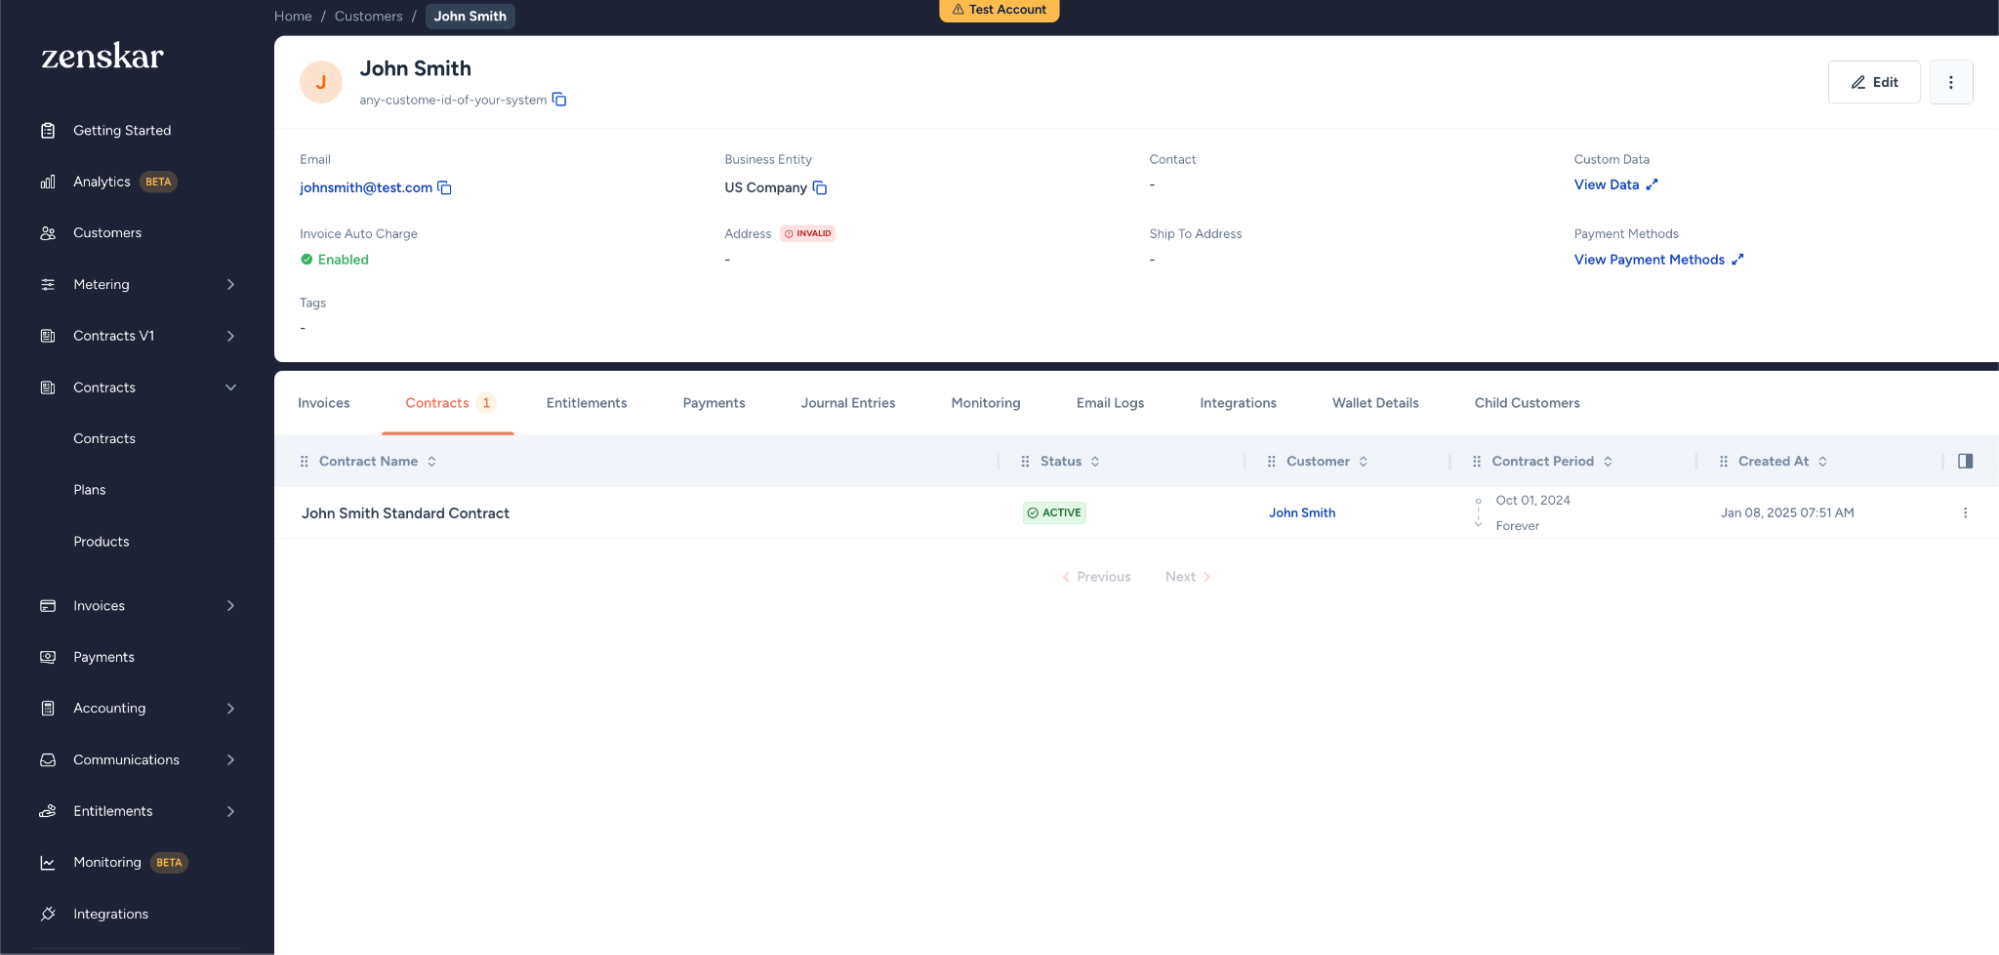
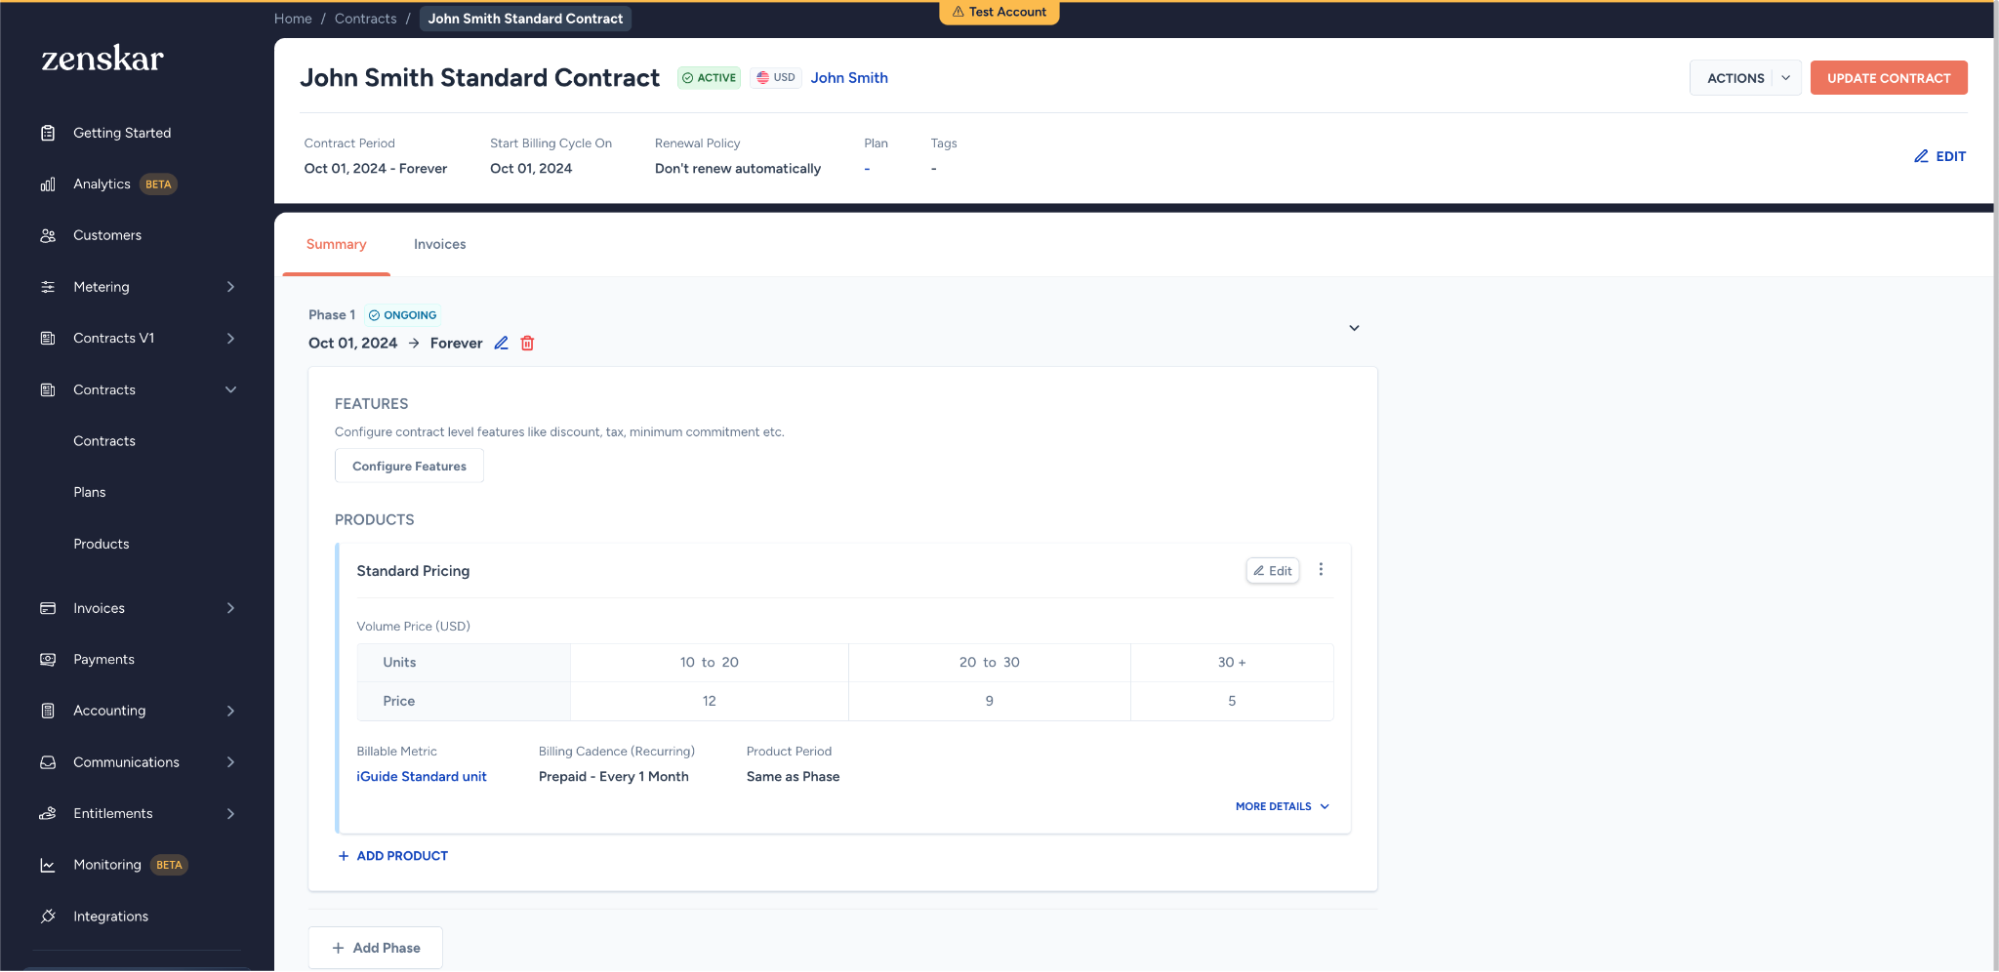
- The Opportunity is now ready to sync with Zenskar. Once marked as Close Won, Zenskar’s Flow will automatically create a Customer and Contract in Zenskar.
Update Contract or Customer from Salesforce
To update a Customer or Contract:- Change the Opportunity’s Stage from Closed Won to any other stage.
- Update the details.
- Set the Opportunity’s stage back to Close Won to trigger a sync with Zenskar.
This completes the setup for integrating Zenskar with Salesforce.