To authenticate API requests, you can generate API keys that can be added to the x-api-key header.
Create an API key
Refer to How to manage API keys for details.
Performing API tests using the API key
Test the API in Zenskar documentation
- Head over to the API documentation you would like to test.
- Add the API key to the header as shown below:
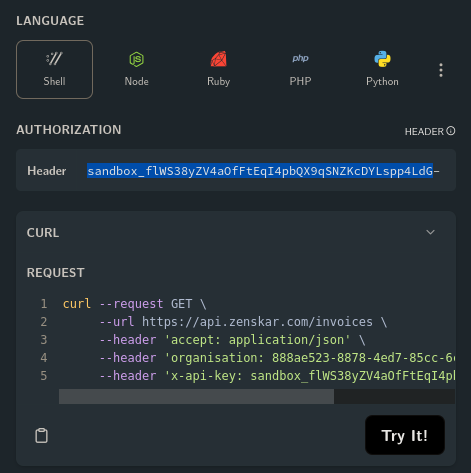
Fig. 3: Prepare for an API test.
- Some APIs will require you to fiill in the mandatory
organisationheader.

Fig. 4: The mandatory header: organisation.
The value for the organisation header can be obtained by navigating to the General tab on the Settings page. The organisation header accepts a valid universally unique identifier (UUID).
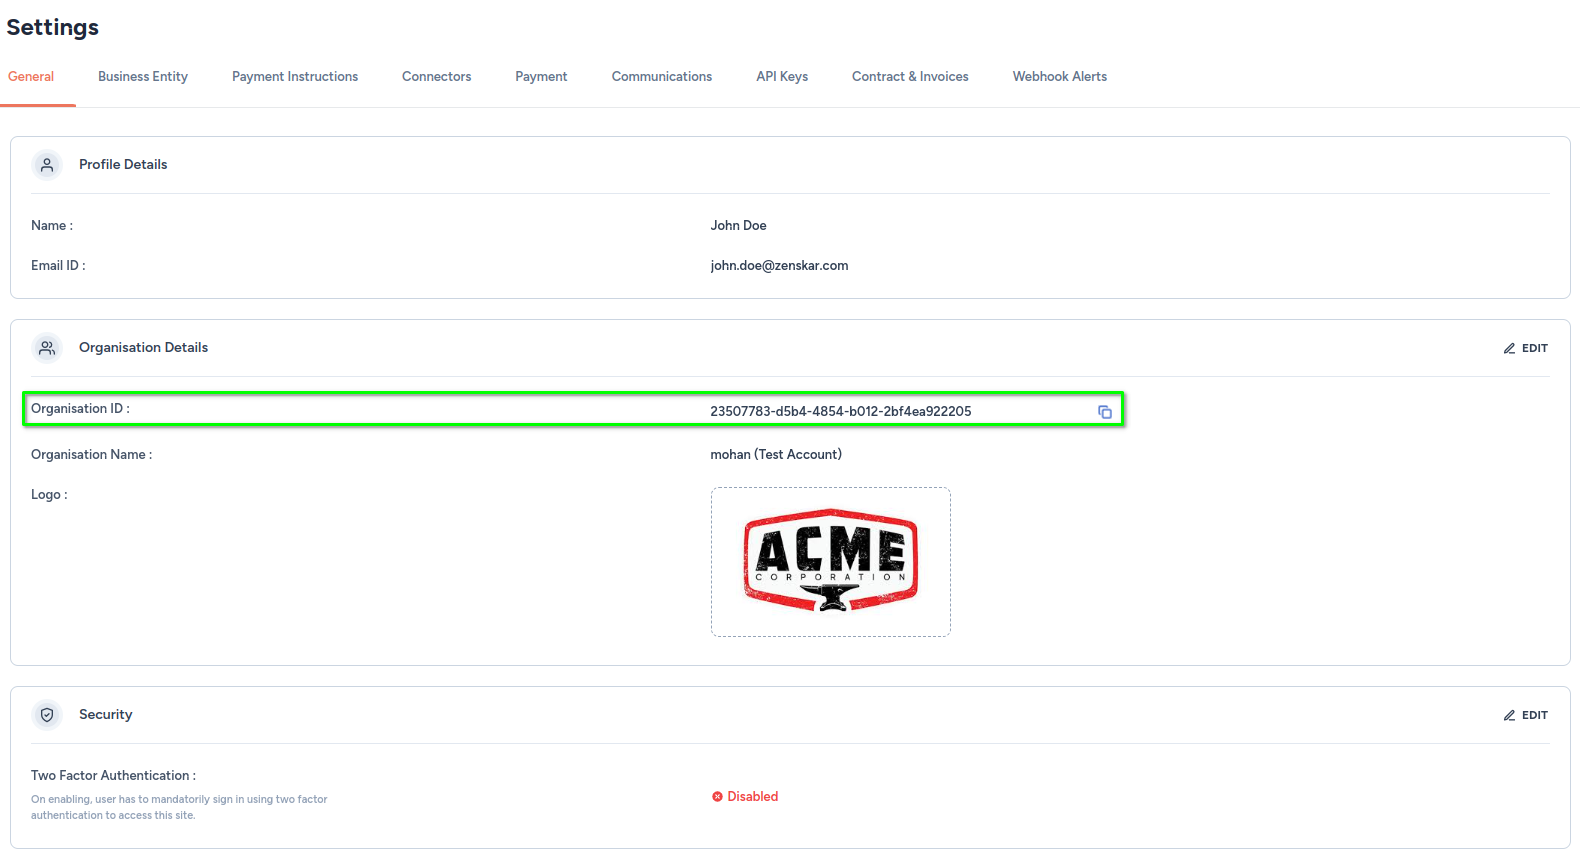
Fig. 5: Get the value for organisation header.
Note
If the mandatory
organisationheader is left empty or if a wrong UUID is entered, you may receive an HTTP 403 error with the following message in the response:{ "Message": "User is not authorized to access this resource with an explicit deny" }
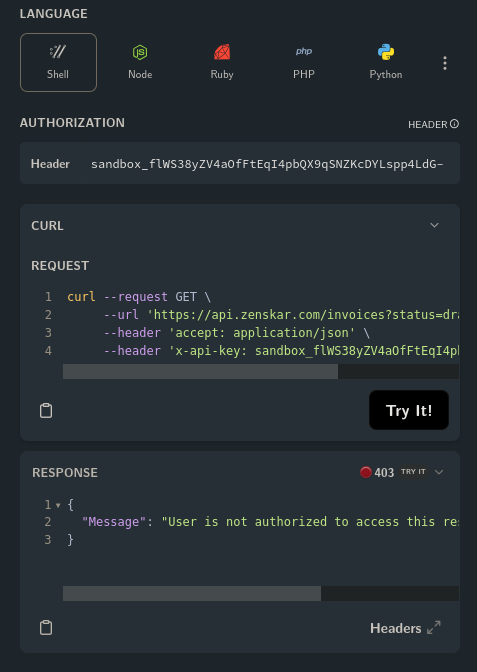
Fig. 6: HTTP 403 error response.
- Fill in the other necessary optional query parameters.
- Click on Try It!. A successful test will result in an HTTP 200 status with a proper JSON response as shown below.
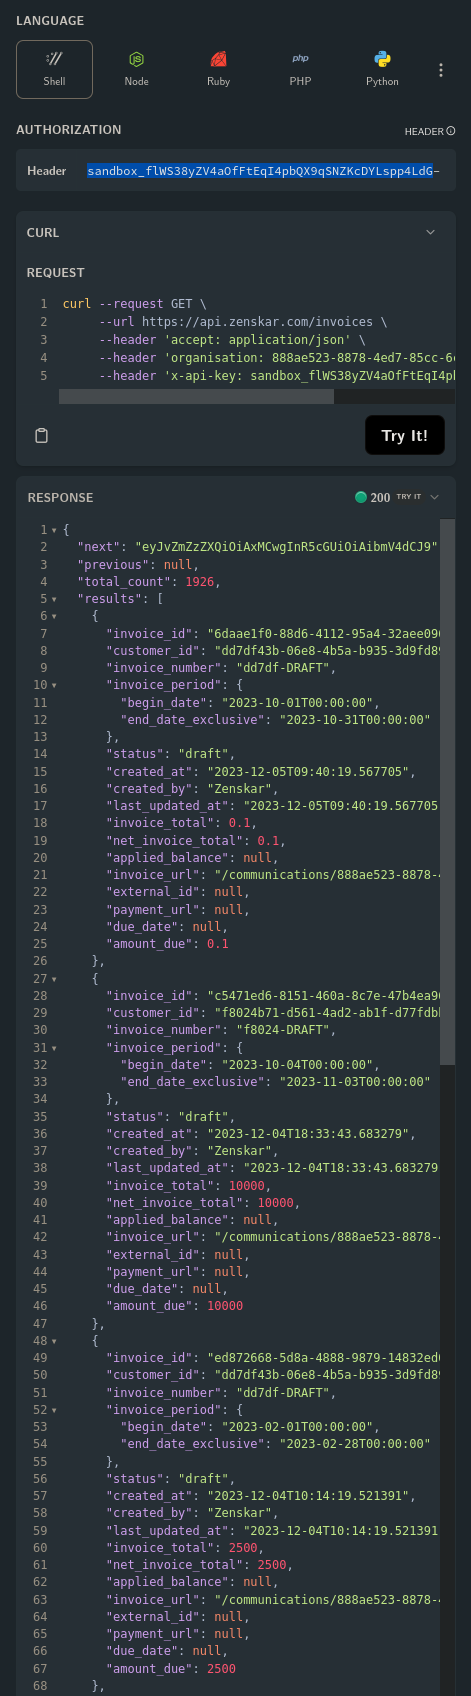
Fig.7: HTTP 200 success response.
Test the API using tools like Postman
The API keys can be used to test the APIs using tools such as Postman or Thunder Client. You should refer to tool-specific instructions.
Deleting an API key
- Click on the drop-up menu with your name in the side panel.
- Navigate to Settings > API Keys.
- Click on the button with the trashcan icon.

Fig. 8: Deleting an API key.