Connect Stripe
Prerequisites
- A Stripe account.
Steps
-
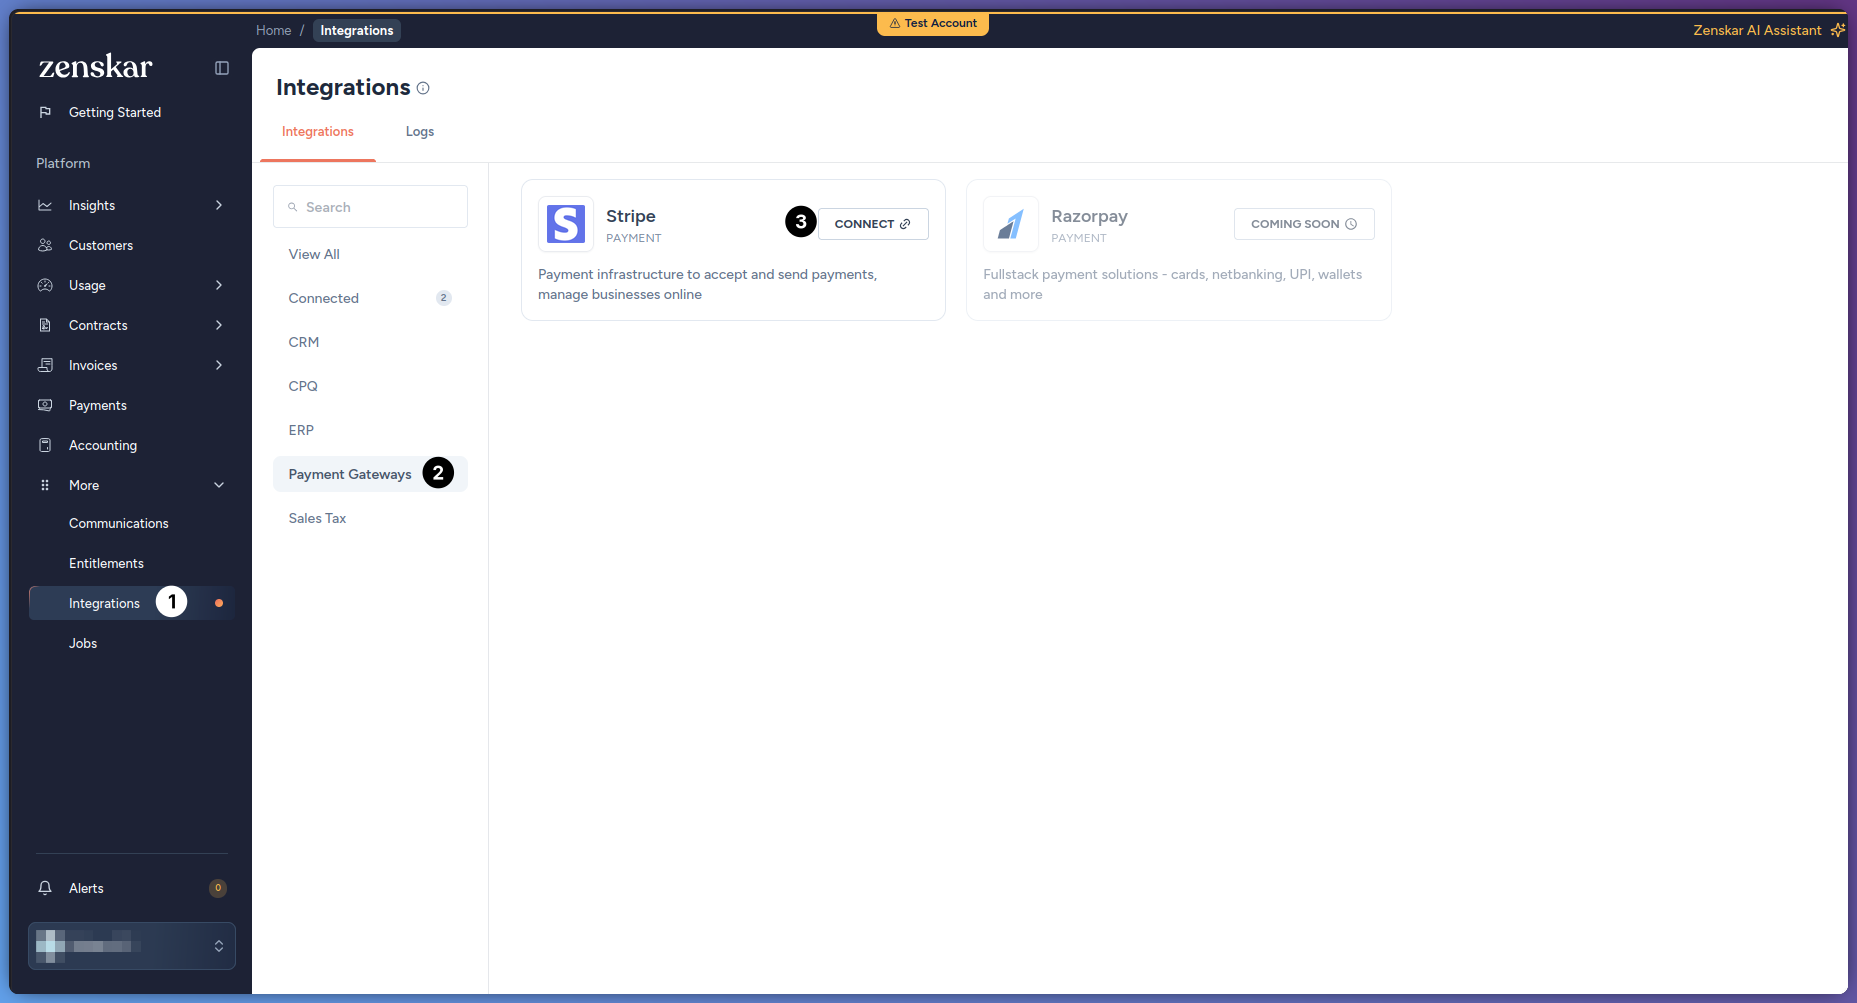
Go to More > Integrations > Payment Gateways, find the Stripe card, and click Connect.
-
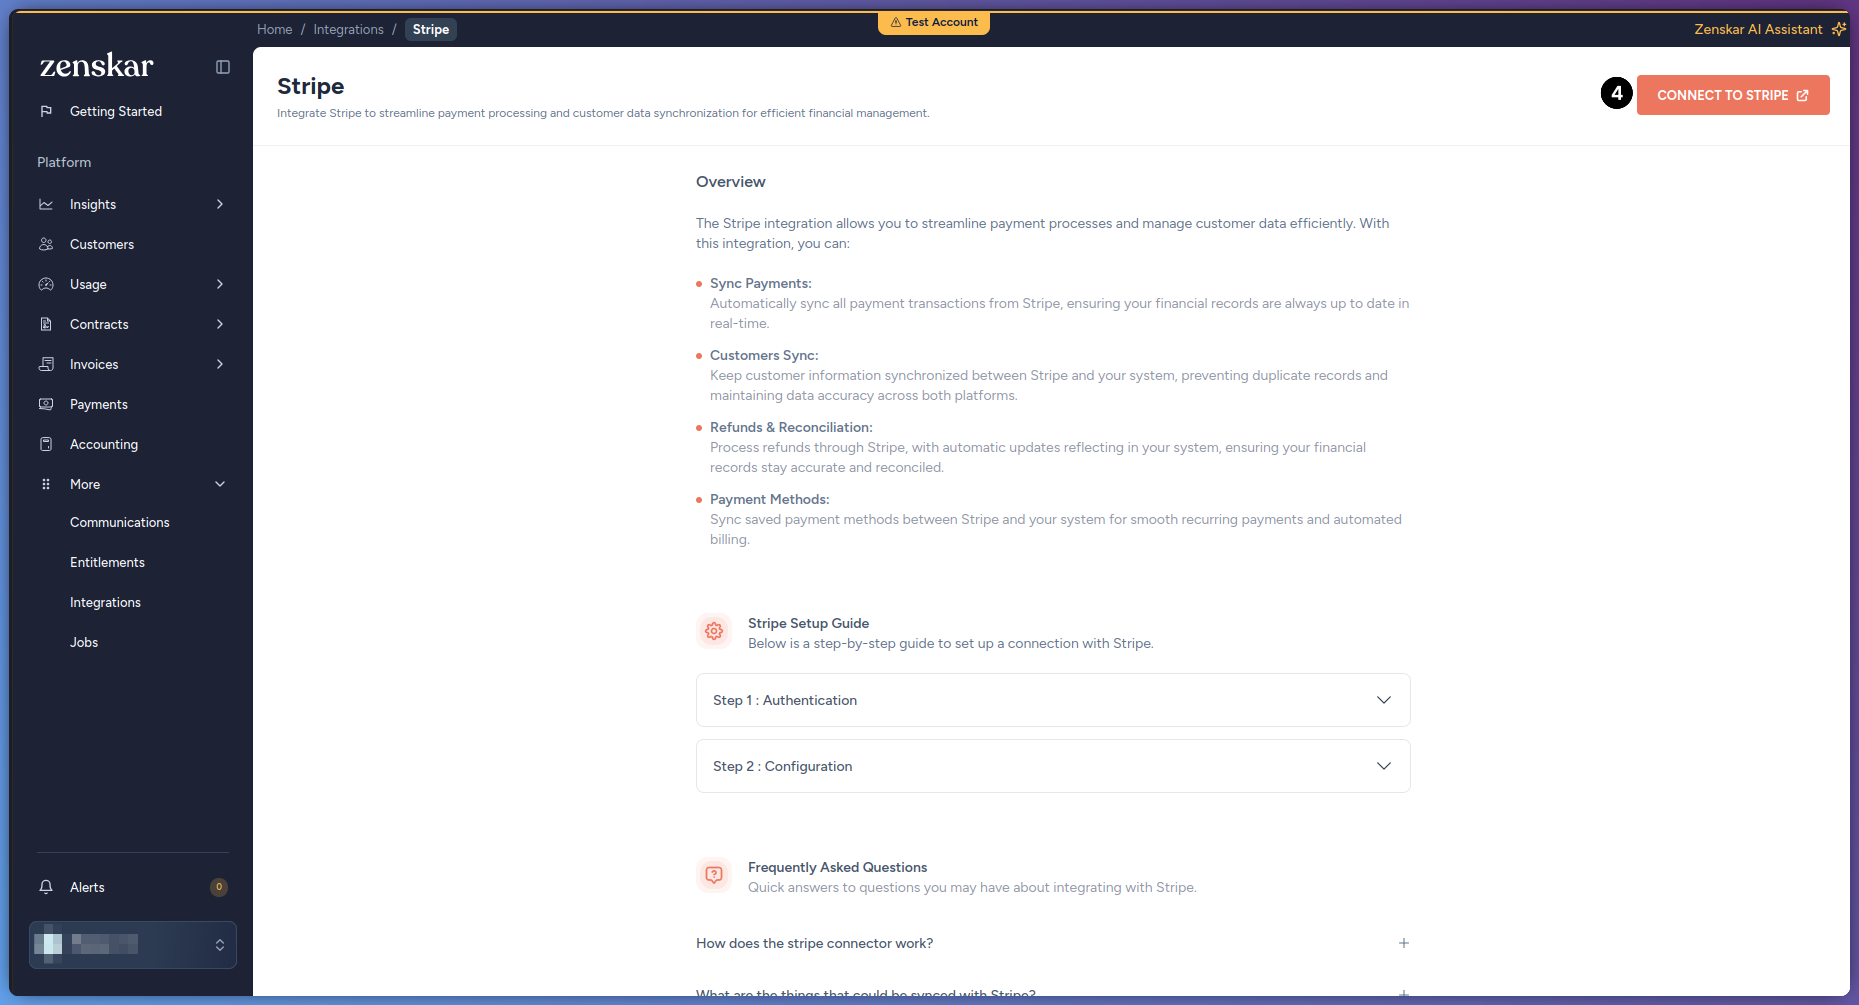
On the Stripe page, click Connect to Stripe.
-
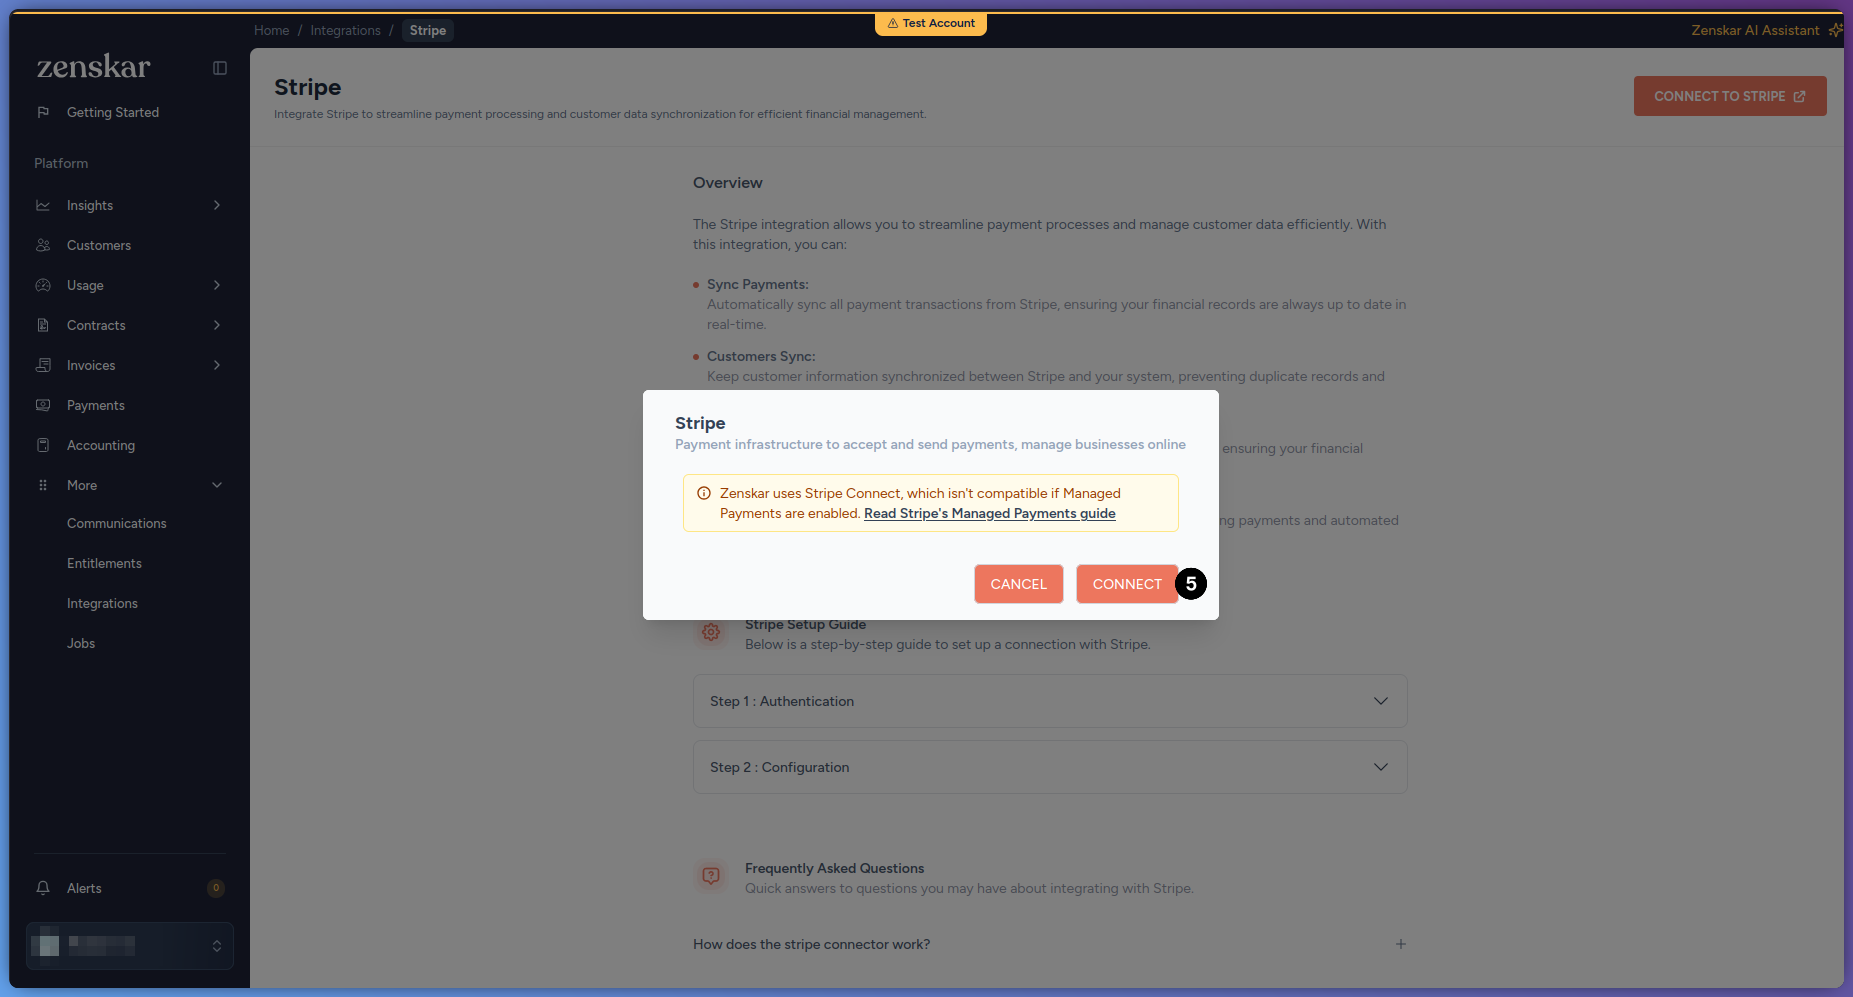
In the confirmation dialog, click Connect.
Configure the connection
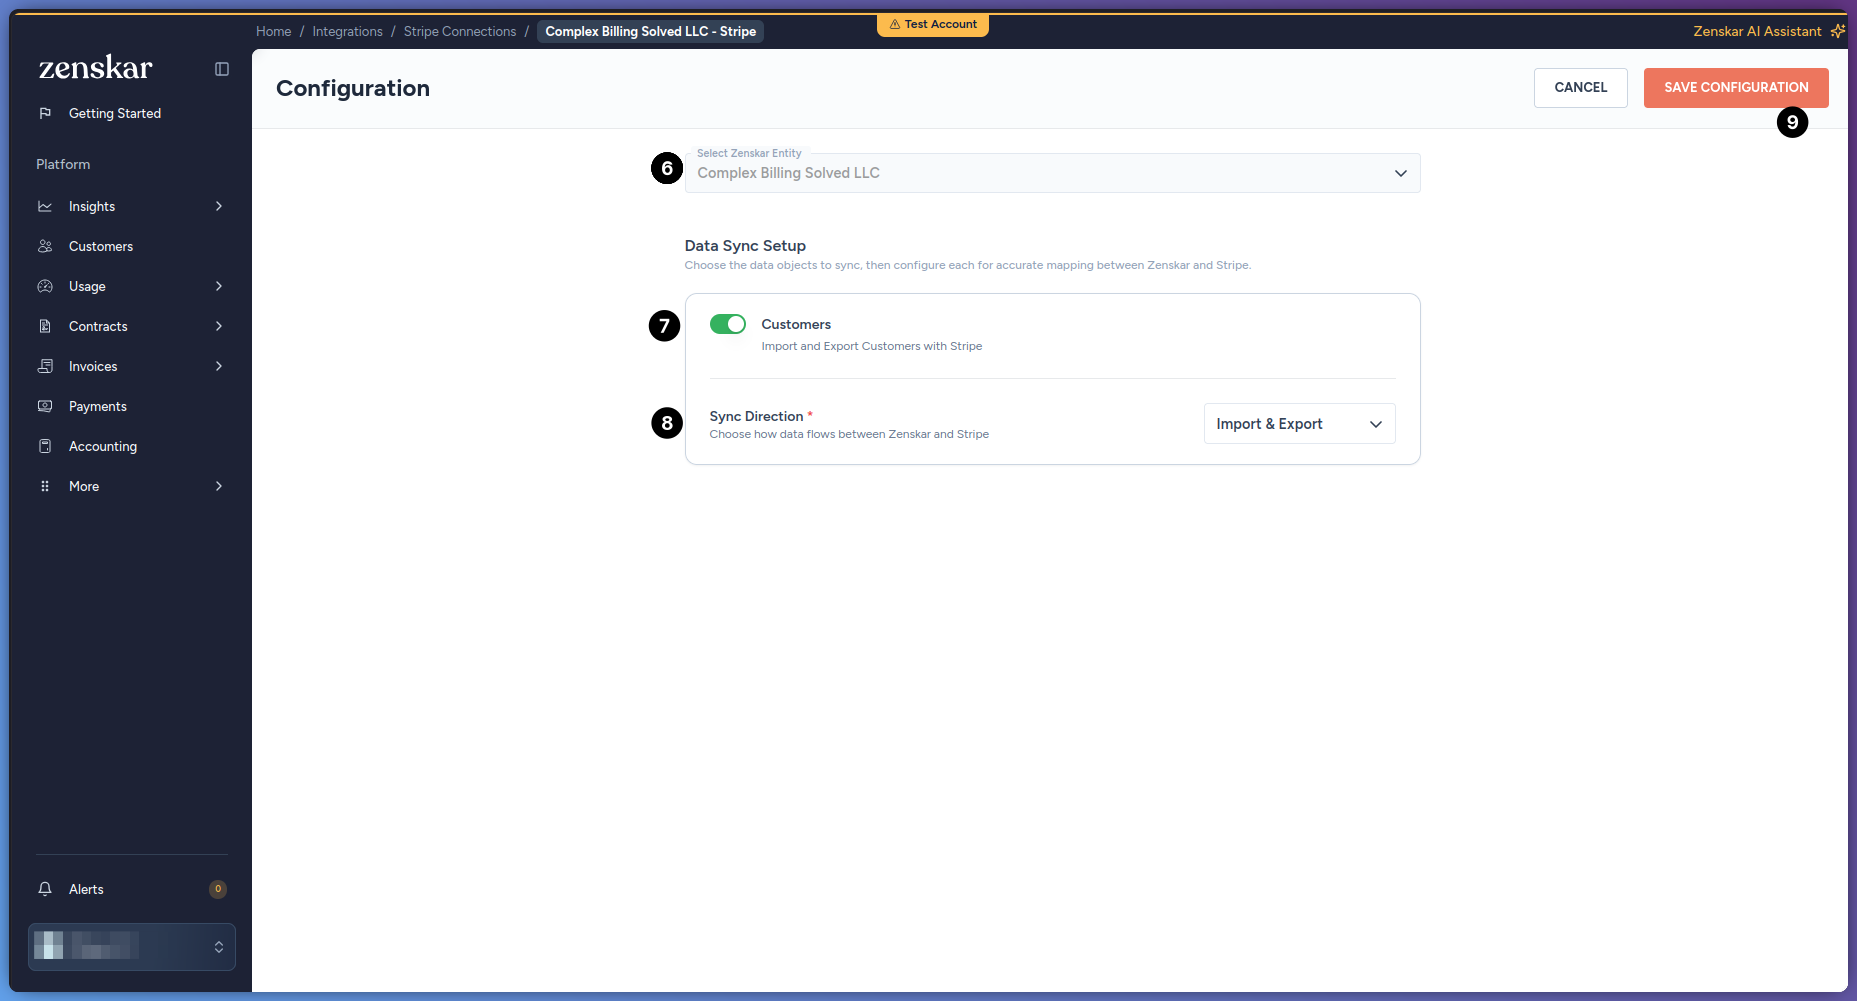
- Under Select Zenskar Entity, select the entity this connection belongs to. This is required. Save Configuration stays disabled until you select one, and you cannot change it after saving.
-
Enable the Customers module to sync customer data between Stripe and Zenskar, and choose a Sync Direction:
-
Click Save Configuration.
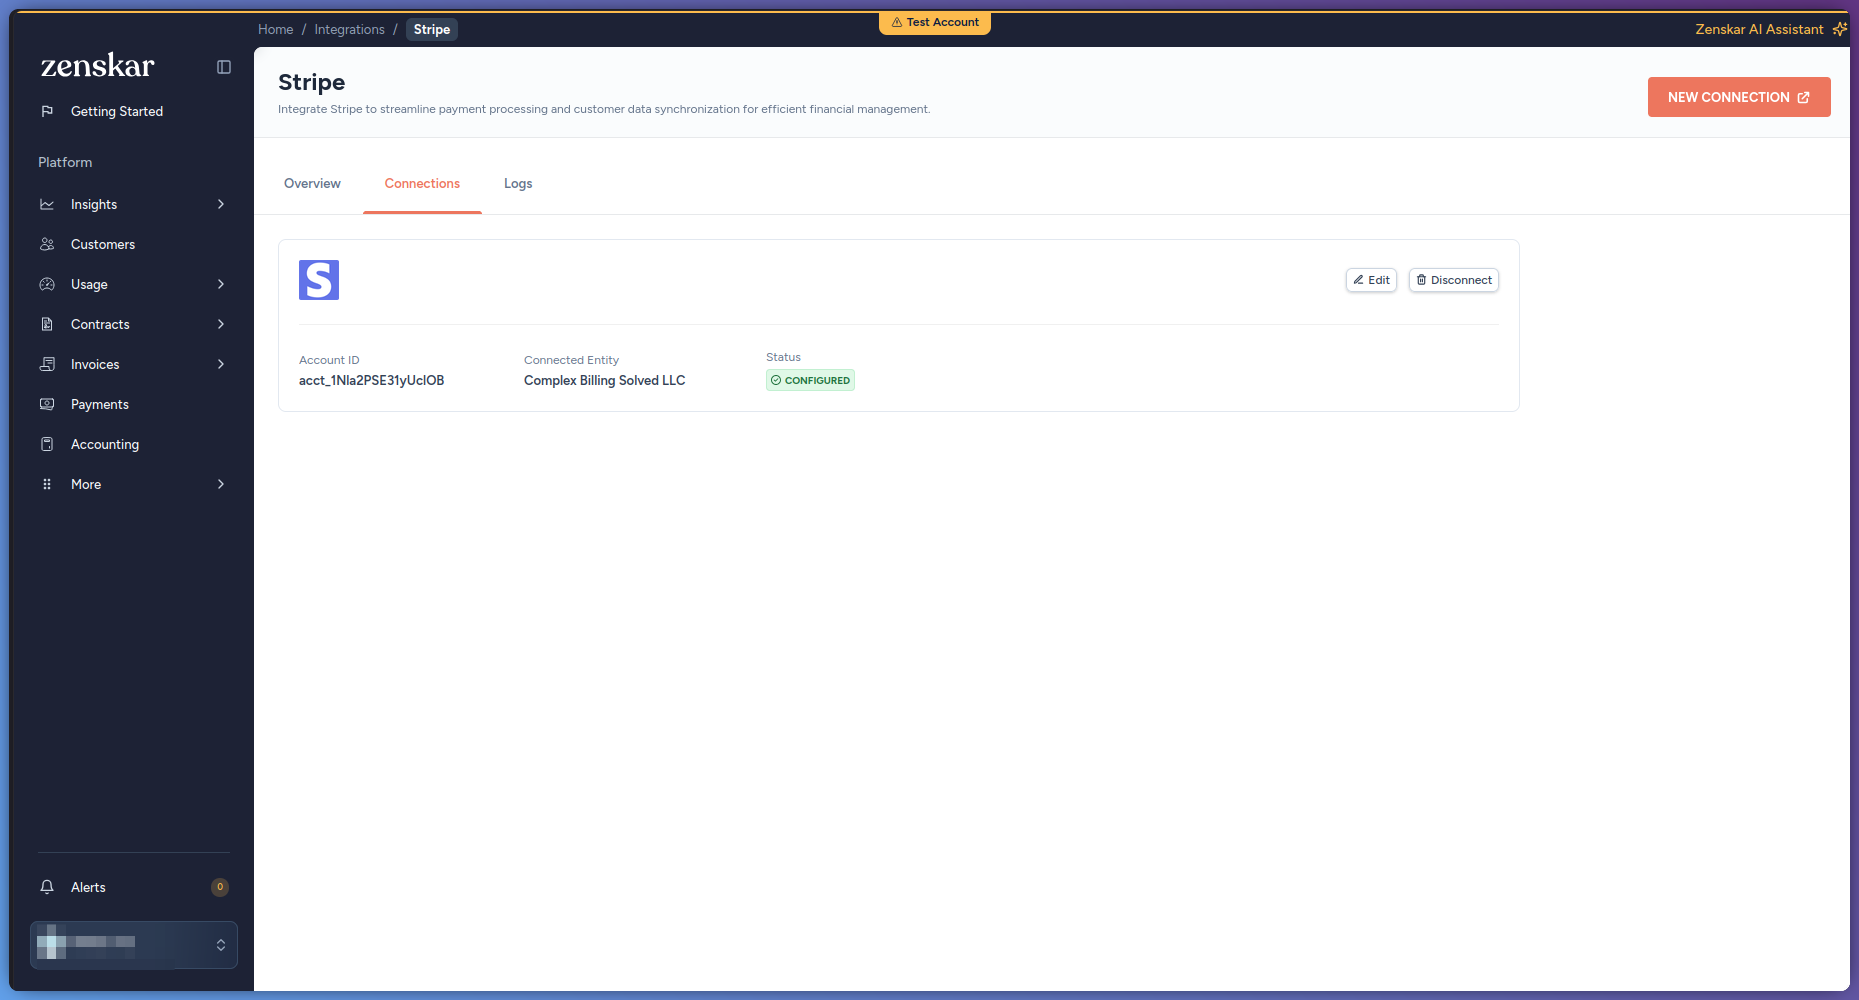
 Once saved, the connection shows as Configured on the Stripe Connections tab.
- Export and Import & Export push a customer to Stripe only when it is first created in Zenskar. If a customer already existed before Stripe was connected, or before Export was turned on, editing and saving it does not push it to Stripe.
- Import direction only updates customers that already exist on both platforms; it never creates new Zenskar customers. To bring in existing Stripe customers for the first time, use Zenskar’s bulk customer CSV import: include each customer’s Stripe customer ID in a
reference_idcolumn to link them, and optionally import their payment methods and invoice numbering from Stripe in the same upload.
Configure payment settings
These settings apply to every Stripe Checkout session across Zenskar. They are not configured per connection. Go to Settings > Payment.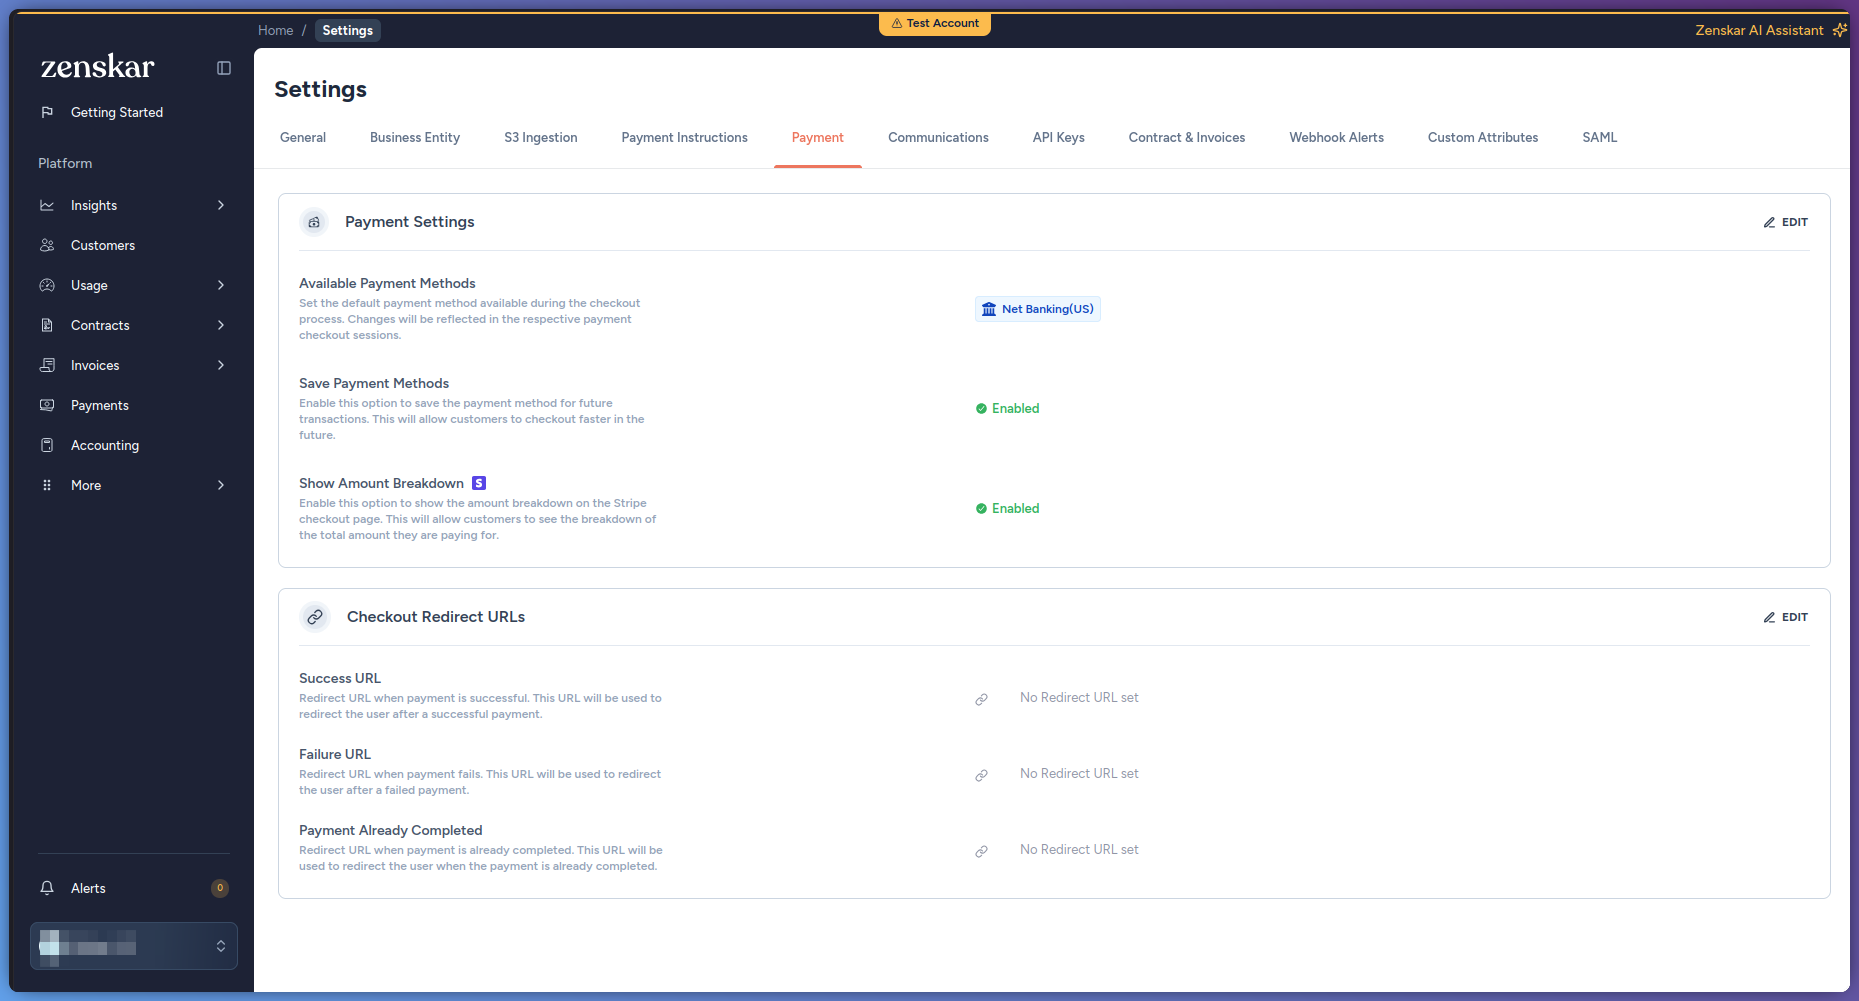 Under Payment Settings:
Under Checkout Redirect URLs, set where Zenskar sends the customer after checkout: Success URL, Failure URL, and Payment Already Completed URL.
Features
Payment links
- Add a payment link when you create an invoice, or turn one on later from an existing invoice with the Include Payment Link toggle. This toggle is only available once Stripe is configured for that customer.
- With a payment link on, you can also turn on Allow Partial Payment so the customer can pay any amount up to the invoice total.
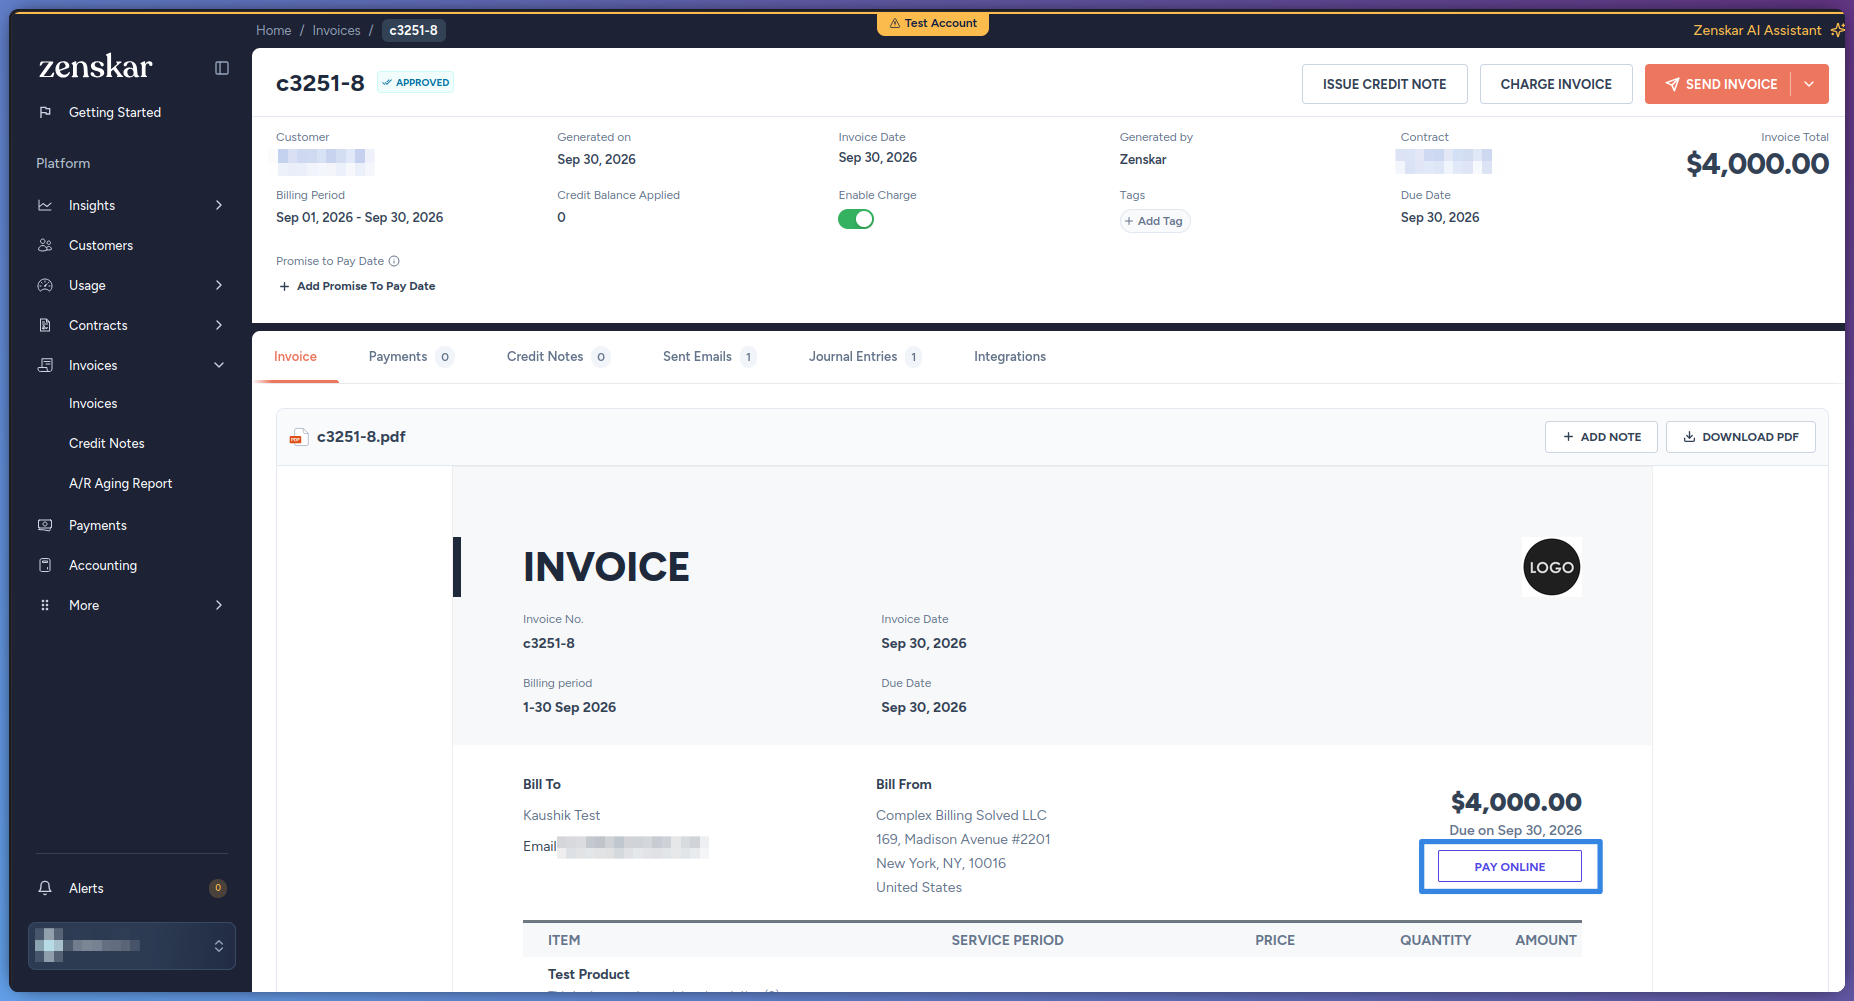
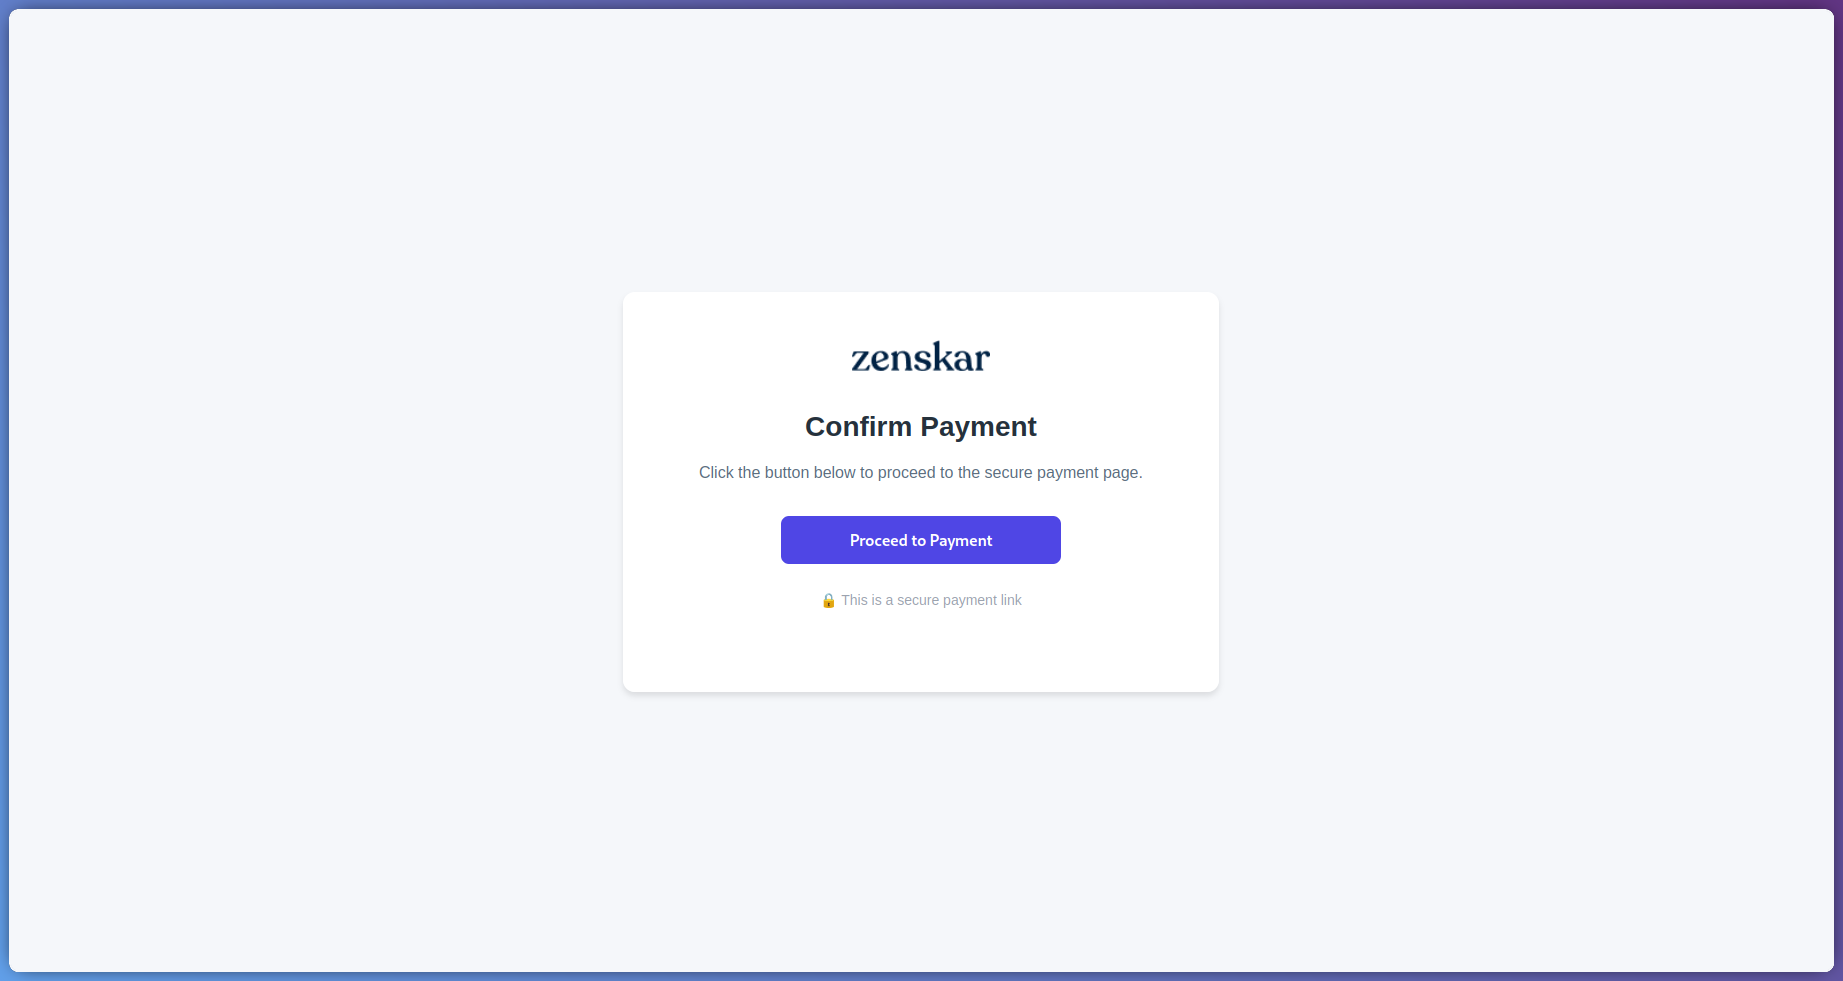
- When a customer clicks PAY ONLINE on the invoice, Zenskar shows a Confirm Payment page, then opens a Stripe Checkout session using the payment methods set in Settings > Payment.
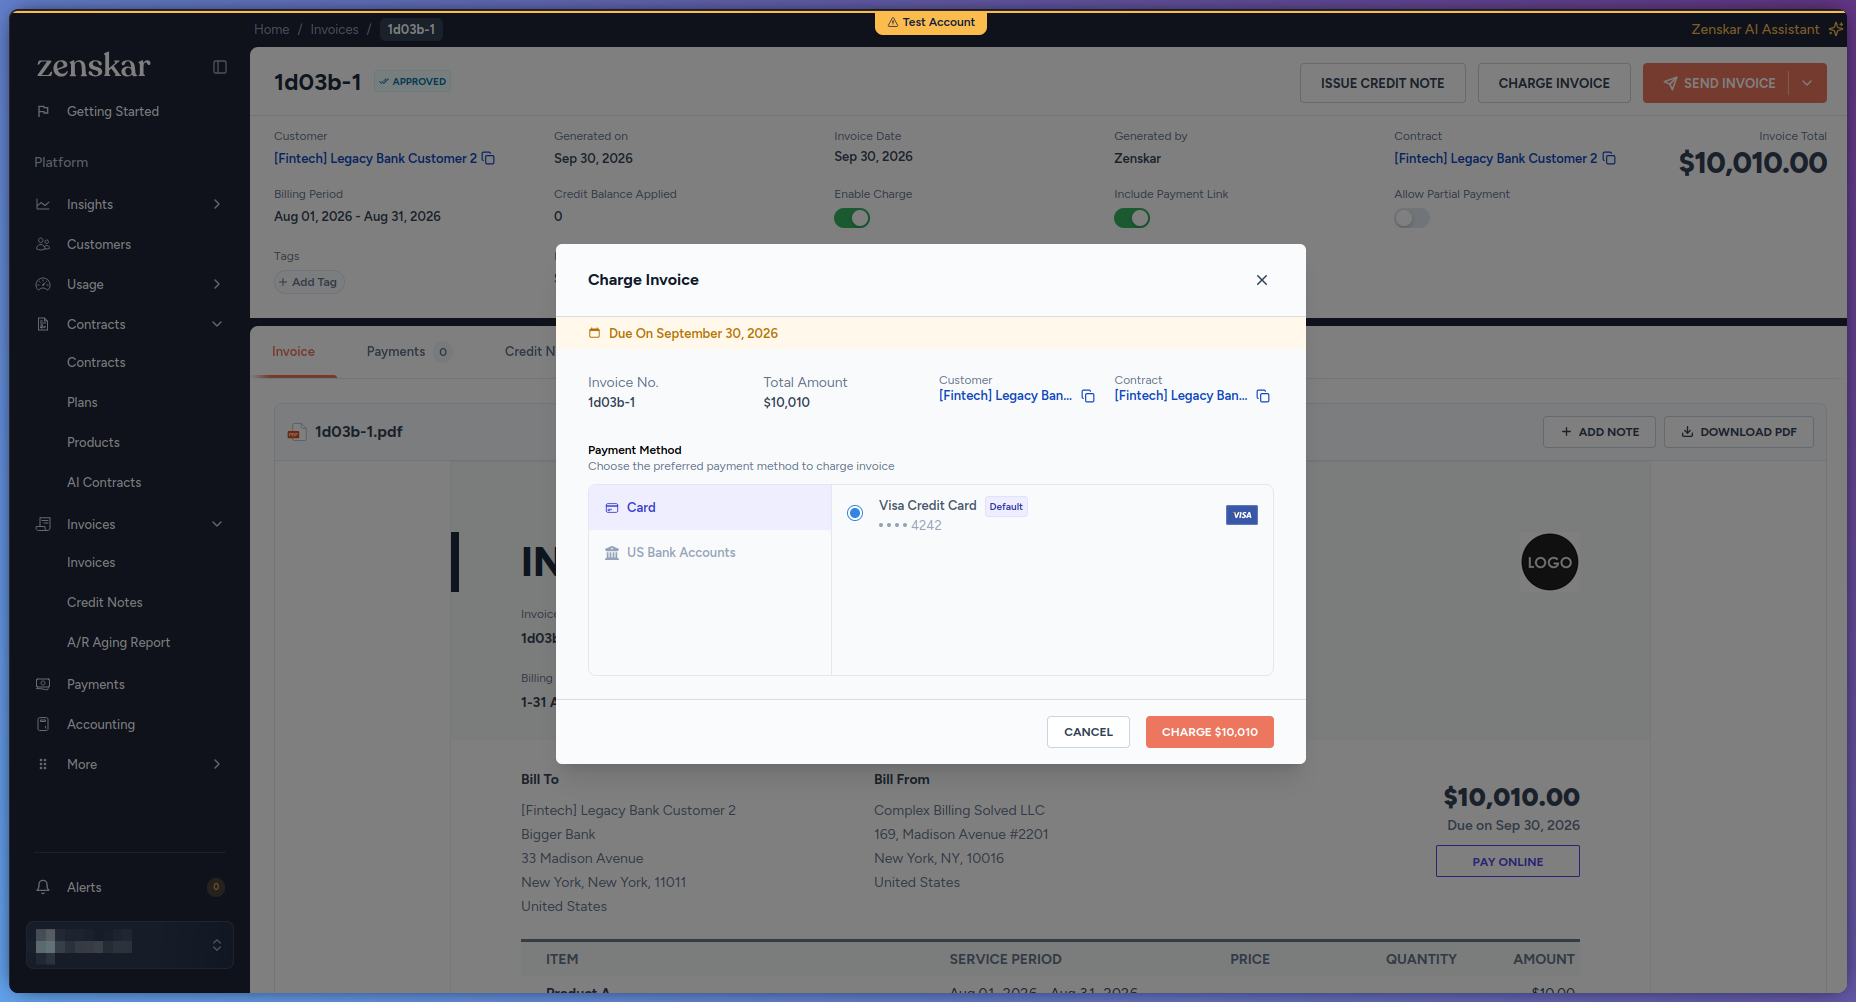
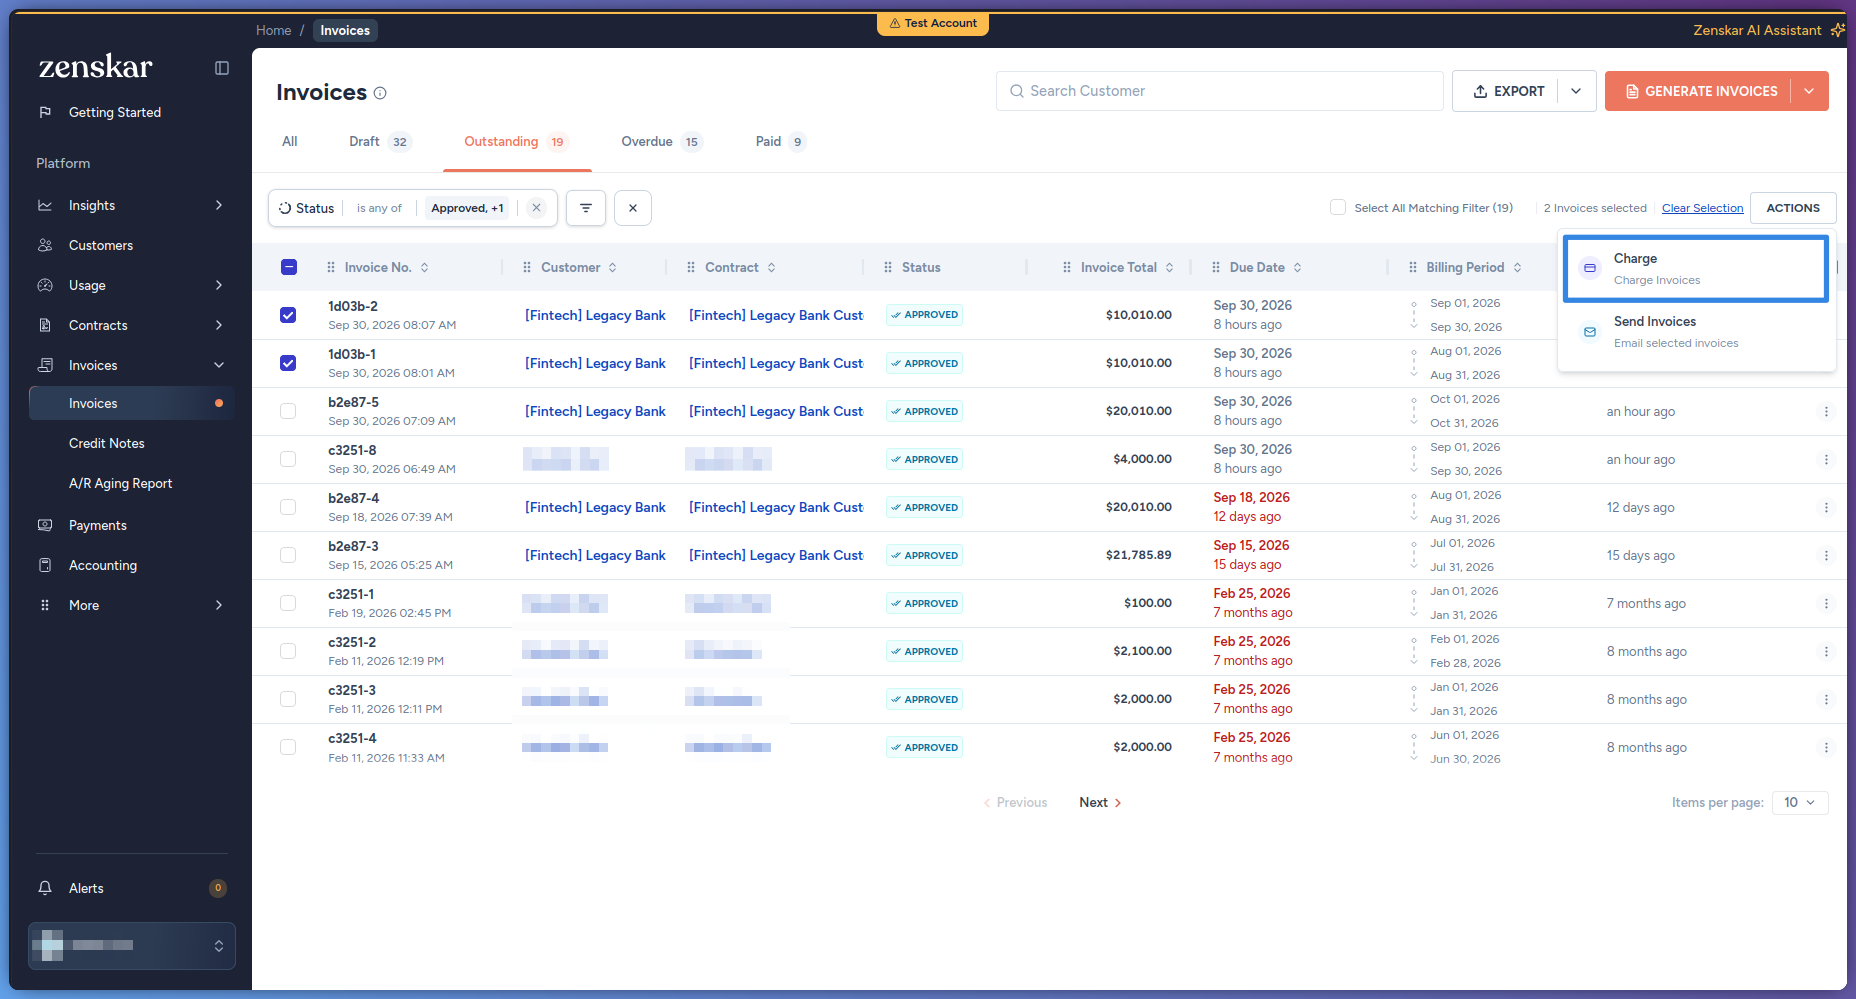
Charge an invoice